
GeoLiteCity 找尋來源IP地理位置
因有時候想要了解都是那些國家來看服務那剛好 Graylog 剛好有提供這樣子的服務,可以讓您查看都是從那些國家來看服務的首先要先到 GeoLite2 提供免費的服務下載,提供有國家、城市及ASN,那我是下載城市這個檔案
109.01.10
在看功能是否有正常運行,發現到無法下載新版資訊,去官網查看,已經不在公開下載了要先註冊帳號後才能正常下載該資訊,所以要先註冊一個帳號才可以下載最新的資訊
2024.07.14
修改流程及更版設定畫面資訊
設定流程
-
先到官方註冊,免費註冊一個帳號,註冊完之後再登入之後,會看到可以手動下載地方。
-
到
Graylog裡面設定啟用system選擇configurations
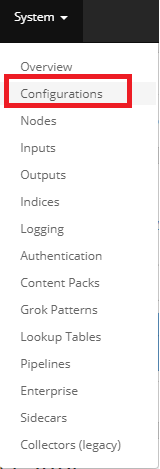
- 新版的設定位置

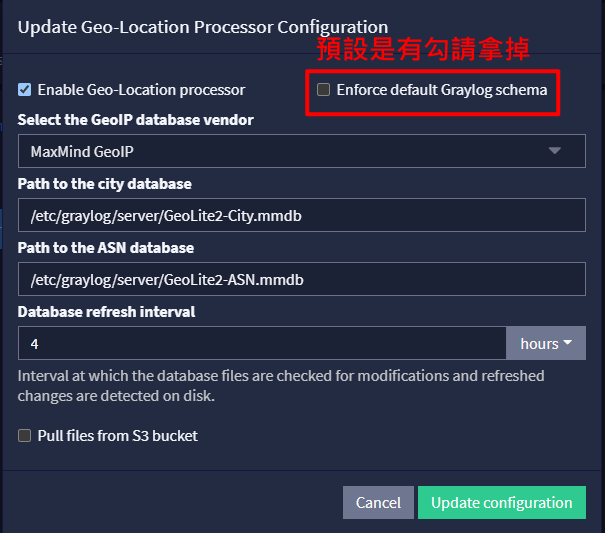
- 啟動服務,並且更新設定
- 在右邊選單,選擇
Message Processors
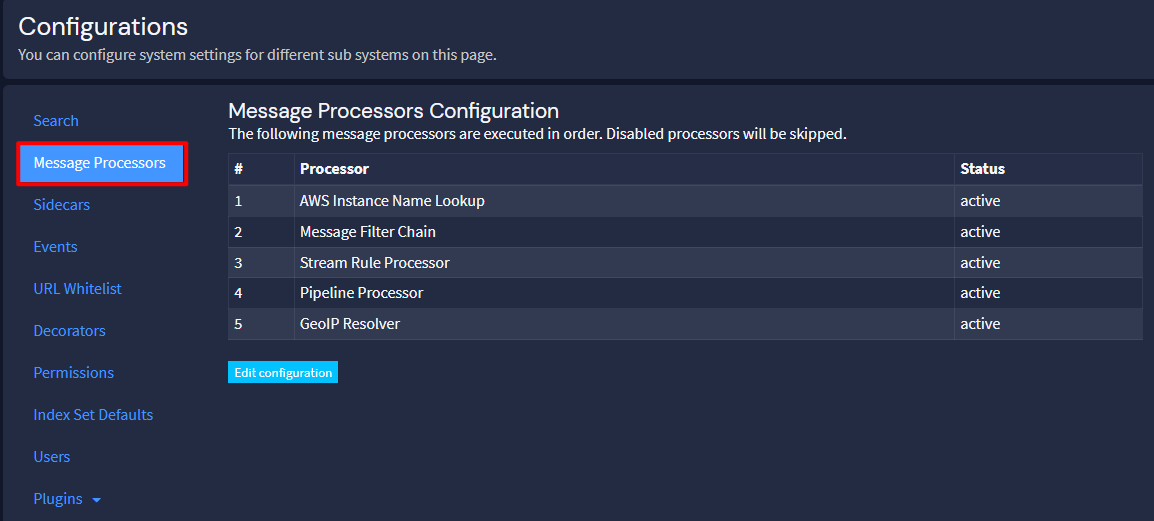
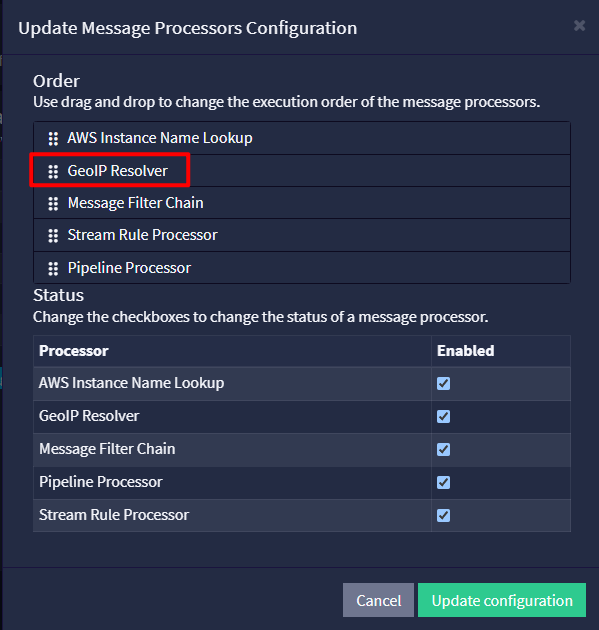
- 編輯設定將
GeoIP Resolver移動到最下面更新設定檔
自動更新 GeoIP 服務
因官方政策有修改不再公開提供下載,只能註冊後才可以下載並且正常運,[官方公告](https://blog.maxmind.com/),所以設定方式會有變化。
如果在安裝此套件之前先確認該系統是否已經有安裝 GeoIP 跟 geoipupdate 這兩個套件,否則在安裝的時候系統會顯示跟以上這兩個套件有衝突造成無法安裝,確認有安裝請事先將這兩個套件服務先移除後就可以正常安裝新版的套件服務
- 錯誤訊息如下
# rpm -i geoipupdate_4.1.5_linux_amd64.rpm
        file /etc/GeoIP.conf from install of geoipupdate-4.1.5-1.x86_64 conflicts with file from package geoipupdate-2.5.0-1.el7.x86_64
        file /usr/bin/geoipupdate from install of geoipupdate-4.1.5-1.x86_64 conflicts with file from package geoipupdate-2.5.0-1.el7.x86_64

或者

# rpm -i geoipupdate_4.1.5_linux_amd64.rpm
        file /etc/GeoIP.conf from install of geoipupdate-4.1.5-1.x86_64 conflicts with file from package geoipupdate-2.5.0-1.el7.x86_64
        file /usr/bin/geoipupdate from install of geoipupdate-4.1.5-1.x86_64 conflicts with file from package geoipupdate-2.5.0-1.el7.x86_64
        file /usr/share/GeoIP from install of geoipupdate-4.1.5-1.x86_64 conflicts with file from package GeoIP-1.5.0-14.el7.x86_64
- 下載 GeoIP Update 套件
# Rocky Linux
wget https://github.com/maxmind/geoipupdate/releases/download/v7.0.1/geoipupdate_7.0.1_linux_amd64.rpm

# Debian \ Ubuntu
wget https://github.com/maxmind/geoipupdate/releases/download/v7.0.1/geoipupdate_7.0.1_linux_amd64.deb
- 安裝套件
# Rocky Linux
rpm -i geoipupdate_7.0.1_linux_amd64.rpm

# Debian \ Ubuntu
dpkg -i geoipupdate_7.0.1_linux_amd64.deb
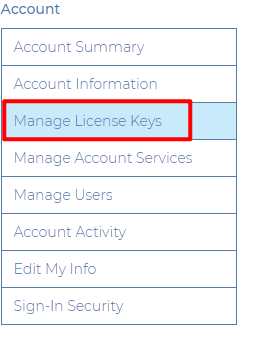
- 先登入進到後台,選擇
Account
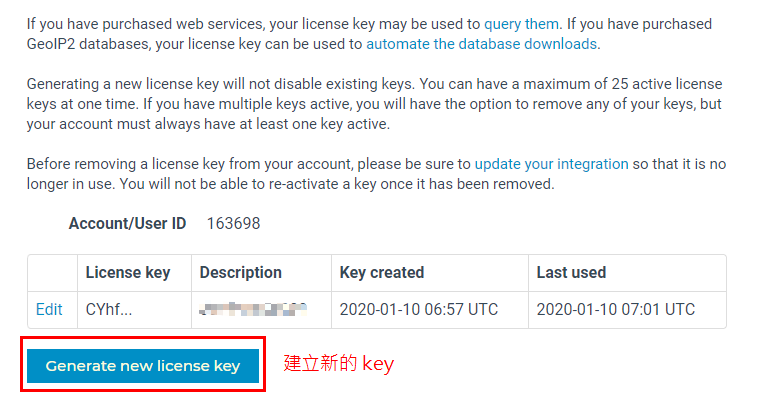
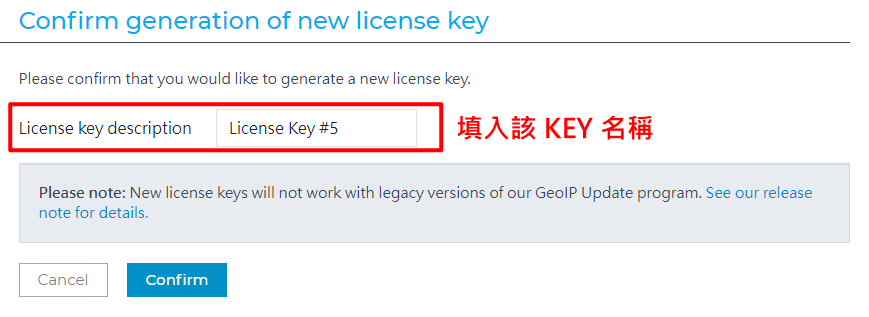
- 建立
- 可填入是什麼服務要使用的名稱這樣子會比較好識別
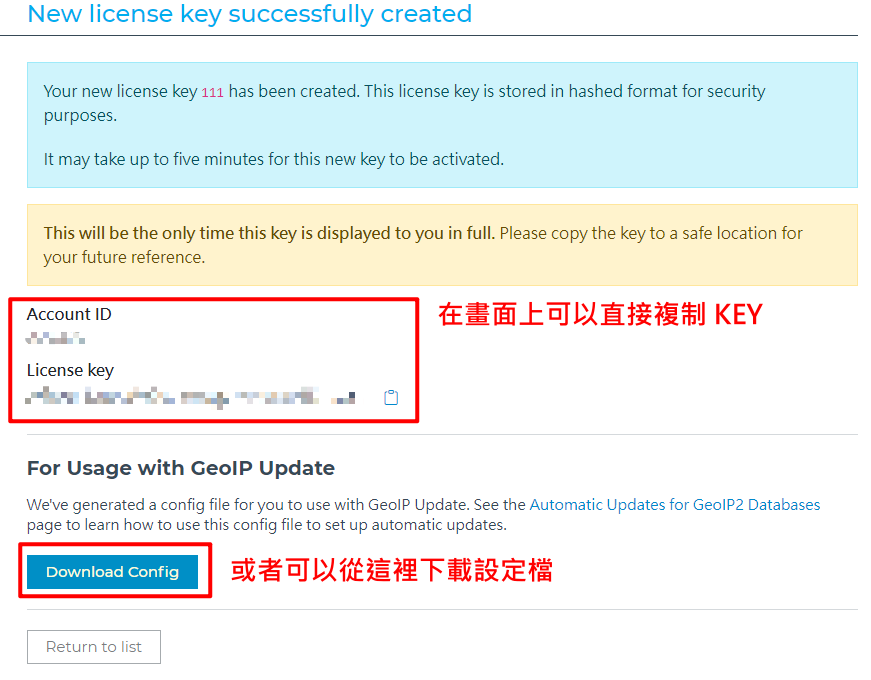
- 下載剛剛產生的設定檔
- 設定 GeoIP
vim /etc/GeoIP.conf
# Enter your account ID and license key below. These are available from
# https://www.maxmind.com/en/my_license_key. If you are only using free
# GeoLite databases, you may leave the 0 values.
AccountID 輸入在 MAXMIND 提供 ID
LicenseKey 輸入剛剛產生出來的 key

# 設定要將檔案存放路徑
DatabaseDirectory /etc/graylog/server
- 手動執行更新
/usr/bin/geoipupdate
- 排程更新
crontab -e
30 7 * * 6 /usr/bin/geoipupdate
geoipupdate 套件更新
- 到官方 github 下載新版本
# Rocky Linux
wget https://github.com/maxmind/geoipupdate/releases/download/v7.0.1/geoipupdate_7.0.1_linux_amd64.rpm

# Debian \ Ubuntu
wget https://github.com/maxmind/geoipupdate/releases/download/v7.0.1/geoipupdate_7.0.1_linux_amd64.deb
- 更新套件
# Rocky Linux
rpm -Uvh geoipupdate_4.1.5_linux_amd64.rpm

# Debian \ Ubuntu
dpkg -i geoipupdate_4.1.5_linux_amd64.deb
- 套件版本查詢
geoipupdate -V