
Debian \ Ubuntu LNMP 安裝
記錄在 Debian \ Ubuntu 系統上安裝 LNMP 服務
運行環境
本工作室環境都是在 「Proxmox VE 」 虛擬系統上架設,都是以 「 LXC 」模式為主,除非有特殊狀況會告知使用 「 VM 」 模式
- 系統環境: Debian 10.7
- Web 服務: Nginx 1.19
- PHP 服務: PHP 7.4
- 資料庫服務: MariaDB 10.5
安裝或測試過程
Nginx安裝
- 如果想要安裝 Nginx 其他模組可以依照本站的教學進行設定 Nginx 模組擴充 - Debain \ Ubuntu,如果只想單純想要系統本身給的版本就可以直接下指令安裝
sudo apt install nginx
PHP 7.4安裝
- 下載 GPG 密鑰
sudo apt -y install lsb-release apt-transport-https ca-certificates
sudo wget -O /etc/apt/trusted.gpg.d/php.gpg https://packages.sury.org/php/apt.gpg
- 新增 PHP 來源庫
echo "deb https://packages.sury.org/php/ $(lsb_release -sc) main" | sudo tee /etc/apt/sources.list.d/php.list
- 更新系統並且安裝 php
sudo apt update
sudo apt install php7.4 php7.4-fpm php-common php7.4-cli php7.4-common php7.4-json php7.4-opcache php7.4-readline
- 啟動服務
sudo systemctl start php7.4-fpm && sudo systemctl enable php7.4-fpm
Nginx 設定檔
- 全域設定
# user 權限要修改成 www-data
#user  nginx;
user www-data;
worker_processes  auto;

error_log  /var/log/nginx/error.log warn;
pid        /var/run/nginx.pid;


events {
    worker_connections  1024;
}


http {
    include       /etc/nginx/mime.types;
    default_type  application/octet-stream;

    log_format  main  '$remote_addr - $remote_user [$time_local] "$request" '
                      '$status $body_bytes_sent "$http_referer" '
                      '"$http_user_agent" "$http_x_forwarded_for"';

    access_log  /var/log/nginx/access.log  main;

    sendfile        on;
    #tcp_nopush     on;

    keepalive_timeout  65;

    #gzip  on;

    include /etc/nginx/conf.d/*.conf;
}
- 服務設定檔
server {
    listen       80;
    server_name  localhost;

    #charset koi8-r;
    #access_log  /var/log/nginx/host.access.log  main;

    location / {
        root   /usr/share/nginx/html;
    # 增加 index.php
        index  index.php index.html index.htm;
    }

    #error_page  404              /404.html;

    # redirect server error pages to the static page /50x.html
    #
    error_page   500 502 503 504  /50x.html;
    location = /50x.html {
        root   /usr/share/nginx/html;
    }

    # proxy the PHP scripts to Apache listening on 127.0.0.1:80
    #
    #location ~ \.php$ {
    #    proxy_pass   http://127.0.0.1;
    #}

  	# 設定 php 的地方
    # pass the PHP scripts to FastCGI server listening on 127.0.0.1:9000
    #
    location ~ \.php$ {
        root           /usr/share/nginx/html;
        fastcgi_pass   unix:/run/php/php7.4-fpm.sock;
        fastcgi_index  index.php;
	fastcgi_param SCRIPT_FILENAME $document_root$fastcgi_script_name;
    #    fastcgi_param  SCRIPT_FILENAME  /scripts$fastcgi_script_name;
        include        fastcgi_params;
    }

    # deny access to .htaccess files, if Apache's document root
    # concurs with nginx's one
    #
    #location ~ /\.ht {
    #    deny  all;
    #}
}
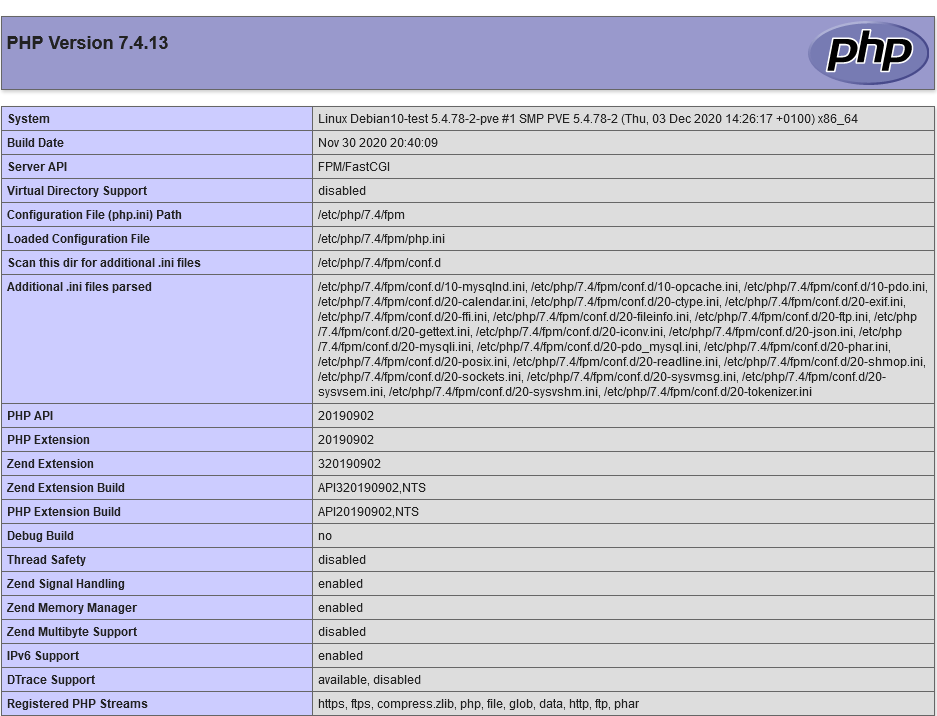
- 在新增 php info 來確認是否能正常顯示,顯示成功畫面如下:
MairaDB 安裝
- 安裝密鑰及來源庫 官方下載點
sudo apt-get install software-properties-common dirmngr
sudo apt-key adv --fetch-keys 'https://mariadb.org/mariadb_release_signing_key.asc'
sudo add-apt-repository 'deb [arch=amd64,arm64,ppc64el] https://ftp.ubuntu-tw.org/mirror/mariadb/repo/10.5/debian buster main'
- 安裝 MariaDB 服務
sudo apt update
sudo apt install mariadb-server
- 啟動服務
systemctl enable mariadb ; systemctl start mariadb
補充說明
- 使用 LXC 模式如果沒有辦法啟用 MariaDB 的話,先看
無特權容器是否顯示為否,如果是的話要再去功能裡面啟用巢狀這個要打勾,這樣子在啟用 mariadb 就不會報錯了