
CentOS 7 Apache, PHP 7.2 and MariaDB (LAMP)
有時候因某些服務無法使用 Nginx 所以要改用 Apache 使用,整套服務流程
系統環境:
CentOS 7
1增加 EPEL repo
rpm --import /etc/pki/rpm-gpg/RPM-GPG-KEY*
yum -y install epel-release
2安裝MariaDB
先到 MariaDB 官方看最新版本是多少目前記錄是 10.3版
先到 /etc/yum.repos.d/ 裡面新增 MariaDB.repo 套件安裝來源

# MariaDB 10.3 CentOS repository list - created 2018-10-30 13:15 UTC
# http://downloads.mariadb.org/mariadb/repositories/
[mariadb]
name = MariaDB
baseurl = http://yum.mariadb.org/10.3/centos7-amd64
gpgkey=https://yum.mariadb.org/RPM-GPG-KEY-MariaDB
gpgcheck=1

新增之後就可以下載安裝了

yum install MariaDB-server MariaDB-client -y

設定 MariaDB 開機自動啟用及現在啟動服務

systemctl start mariadb.service
systemctl enable mariadb.service

設定 MariaDB root 密碼

mysql_secure_installation

NOTE: RUNNING ALL PARTS OF THIS SCRIPT IS RECOMMENDED FOR ALL MariaDB
      SERVERS IN PRODUCTION USE!  PLEASE READ EACH STEP CAREFULLY!

In order to log into MariaDB to secure it, we'll need the current
password for the root user.  If you've just installed MariaDB, and
you haven't set the root password yet, the password will be blank,
so you should just press enter here.

Enter current password for root (enter for none): <--ENTER
OK, successfully used password, moving on...

Setting the root password ensures that nobody can log into the MariaDB
root user without the proper authorisation.

Set root password? [Y/n]
New password: <--輸入密碼
Re-enter new password: <--輸入密碼
Password updated successfully!
Reloading privilege tables..
 ... Success!


By default, a MariaDB installation has an anonymous user, allowing anyone
to log into MariaDB without having to have a user account created for
them.  This is intended only for testing, and to make the installation
go a bit smoother.  You should remove them before moving into a
production environment.

Remove anonymous users? [Y/n] <--ENTER
 ... Success!

Normally, root should only be allowed to connect from 'localhost'.  This
ensures that someone cannot guess at the root password from the network.

Disallow root login remotely? [Y/n] <--ENTER
 ... Success!

By default, MariaDB comes with a database named 'test' that anyone can
access.  This is also intended only for testing, and should be removed
before moving into a production environment.

Remove test database and access to it? [Y/n] <--ENTER
 - Dropping test database...
 ... Success!
 - Removing privileges on test database...
 ... Success!

Reloading the privilege tables will ensure that all changes made so far
will take effect immediately.

Reload privilege tables now? [Y/n] <--ENTER
 ... Success!

Cleaning up...

All done!  If you've completed all of the above steps, your MariaDB
installation should now be secure.

Thanks for using MariaDB!
[root@server1 ~]#
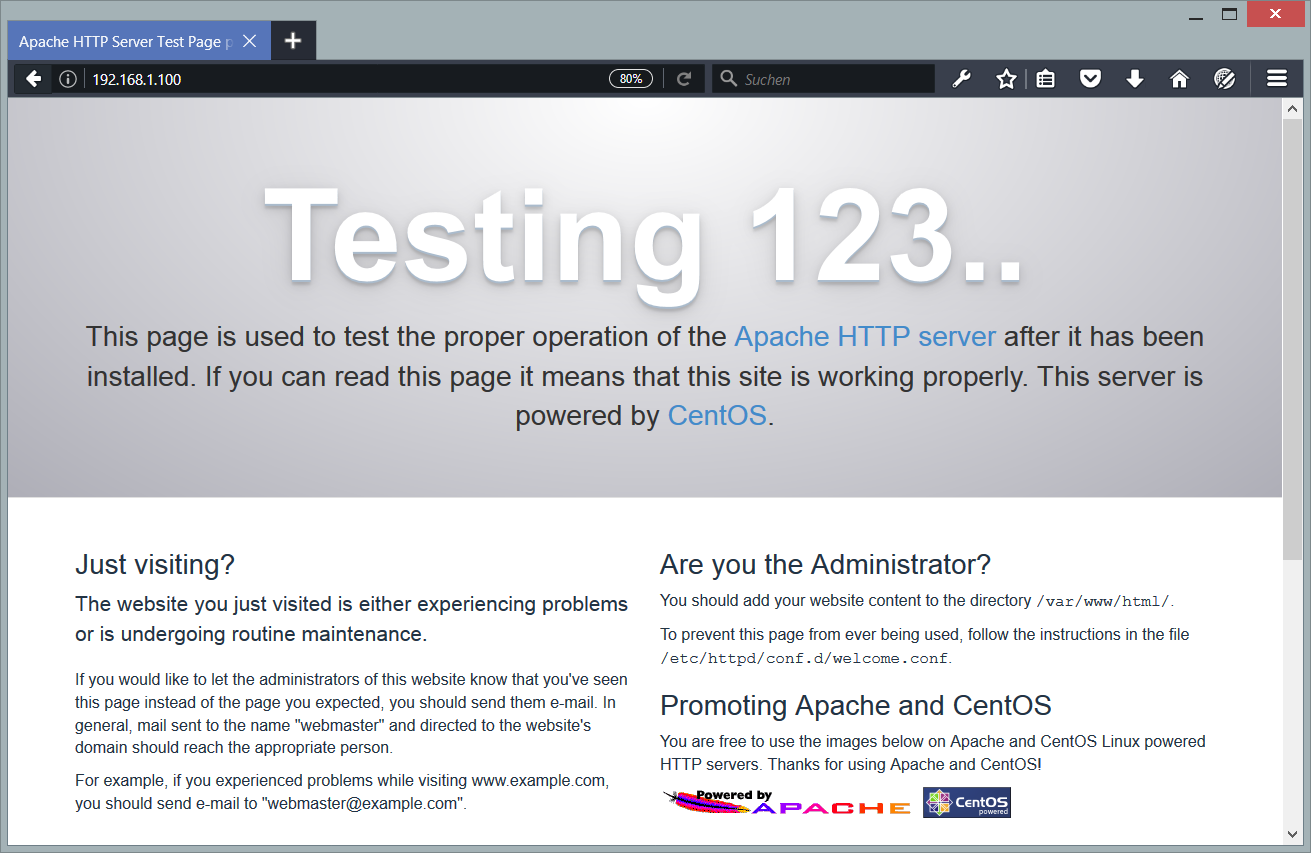
3安裝 Apache
yum -y install httpd

設定開機自動啟用及手動啟用

systemctl start httpd.service
systemctl enable httpd.service
4 安裝 PHP 服務
CentOS 7 本身附帶的PHP版本是5.4版的太過於老舊,而且目前官方也沒有在維護,所以建議從官方提出來的套件庫使用。
新增 Remi CentOS套件庫

rpm -Uvh http://rpms.remirepo.net/enterprise/remi-release-7.rpm

安裝 yum-utils

yum -y install yum-utils

更新系統套件

yum update -y
4.1 安裝 PHP 5.4
要安裝 PHP 5.4 請執行下面命令
yum -y install php4.2 安裝 PHP 7.0
我們可以選擇安裝 PHP 7.0 和 Apache PHP 7.0 模組請執行下面命令
yum-config-manager --enable remi-php70
yum -y install php php-opcache
4.3 安裝 PHP 7.1
如果想要用 PHP 7.1 請執行下面命令
yum-config-manager --enable remi-php71
yum -y install php php-opcache
4.4 安裝 PHP 7.2
如果想要用 PHP 7.2 請執行下面命令
yum-config-manager --enable remi-php72
yum -y install php php-opcache
安裝好之後再重啟 Apache 服務
systemctl restart httpd.service
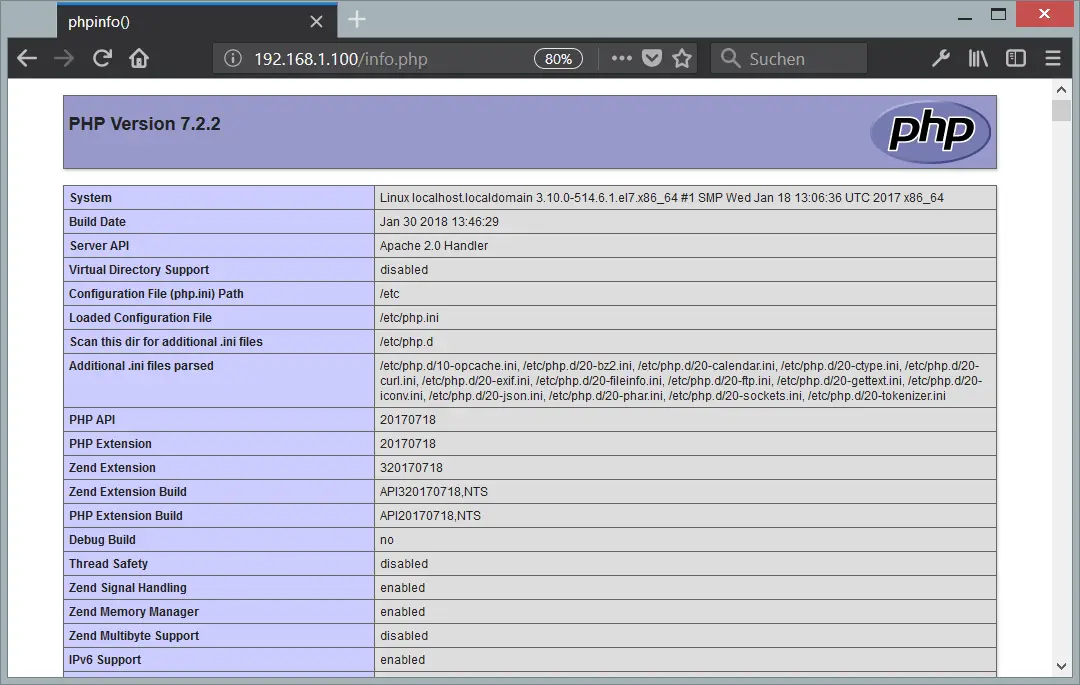
5 測式 PHP / 取得目前安裝 PHP 詳細資訊
預設目錄下 /var/www/html. 新增一個「info.php」檔案,這樣子就可以顯示目前所安裝的資訊
vim  /var/www/html/info.php

<?php
phpinfo();
?>
Now we call that file in a browser (e.g. http://192.168.1.100/info.php):
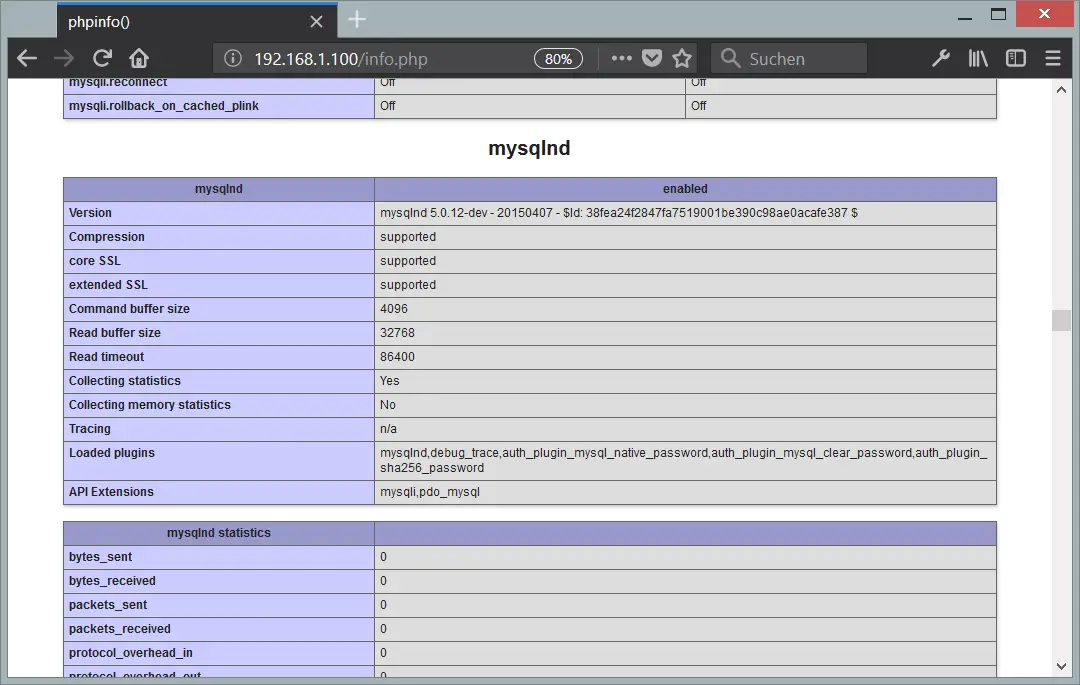
6 PHP 與 MySQL 連接
yum -y install php-mysqlnd php-pdo

這是安裝「CMS」系統所需要的 PHP 模組
yum -y install php-gd php-ldap php-odbc php-pear php-xml php-xmlrpc php-mbstring php-soap curl curl-devel
重新啟動 Apache 服務
systemctl restart httpd.service
輸入 http://192.168.1.100/info.php 查看目前的狀況
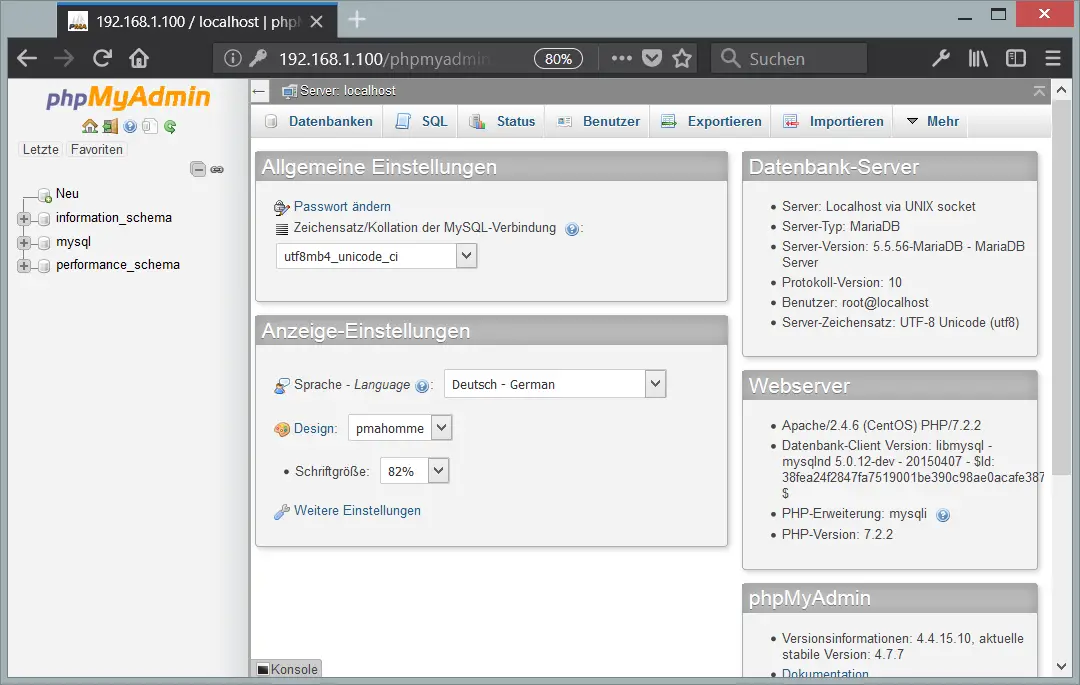
7 phpMyAdmin 安裝
phpMyAdmin是一個Web界面,通過它您可以管理MySQL數據庫。現在可以按如下方式安裝phpMyAdmin:
yum -y install phpMyAdminvim /etc/httpd/conf.d/phpMyAdmin.conf
[...]
Alias /phpMyAdmin /usr/share/phpMyAdmin
Alias /phpmyadmin /usr/share/phpMyAdmin

<Directory /usr/share/phpMyAdmin/>
 AddDefaultCharset UTF-8

 <IfModule mod_authz_core.c>
 # Apache 2.4
# <RequireAny>
# Require ip 127.0.0.1
# Require ip ::1
# </RequireAny>
 Require all granted
 </IfModule>
 <IfModule !mod_authz_core.c>
 # Apache 2.2
 Order Deny,Allow
 Deny from All
 Allow from 127.0.0.1
 Allow from ::1
 </IfModule>
</Directory>


<Directory /usr/share/phpMyAdmin/>
        Options none
        AllowOverride Limit
        Require all granted
</Directory>

[...]
接下來,我們將phpMyAdmin中的身份驗證從cookie更改為http:
vim /etc/phpMyAdmin/config.inc.php
[...]
$cfg['Servers'][$i]['auth_type']     = 'http';    // Authentication method (config, http or cookie based)?
[...]
重啟 Apache 服務
systemctl restart httpd.service
然後,你可以訪問http://192.168.1.100/phpmyadmin/下的phpMyAdmin:
8 連接
Apache: http://httpd.apache.org/
PHP: http://www.php.net/
MySQL: http://www.mysql.com/
CentOS: http://www.centos.org/
phpMyAdmin: http://www.phpmyadmin.net/