CVE-Search 漏洞和暴露查詢
BUBU 有在使用 OCS Inventory 資產管理系統,這套有個功能可以去盤點現行軟體的漏洞比對讓管理者清楚知道這些漏洞會有怎樣子的影響。該套件是使用 python 去做編寫的。
運行環境
環境都是在 「Proxmox VE 」 虛擬系統上架設,都是以 「 LXC 」模式為主,除非有特殊狀況會告知使用 「 VM 」 模式
- 系統環境: Debian 12
- Web 服務: Nginx 1.26
- 資料庫服務: MongoDB 7.0.12
安裝過程
安裝必要套件
- 先建立目錄
mkdir -p /opt/cve/
- 先進到程式所要放置的位置
cd /opt/cve/在從官方文件所提供的程式先下載
git clone https://github.com/cve-search/cve-search.git
- 進到剛剛下載好的目錄
cd cve-search
- 安裝官方所提供的安裝清單
xargs sudo apt-get install -y < requirements.system
- 如果要安裝
pip想關套件需要先進到虛擬環境才能進行服務運行,安裝相關套件
apt install python3-venv -y
- 建立虛擬環境
python3 -m venv ./cve-env
- 進入虛擬環境
source ./cve-env/bin/activate
- 安裝
pip相關套件
pip3 install -r requirements.txt
安裝 MongoDB
- 新增加 MongoDB 金鑰
curl -fsSL https://www.mongodb.org/static/pgp/server-8.0.asc | \
   sudo gpg -o /usr/share/keyrings/mongodb-server-8.0.gpg \
   --dearmor
- 新增加 MongoDB 來源庫
echo "deb [ signed-by=/usr/share/keyrings/mongodb-server-8.0.gpg ] http://repo.mongodb.org/apt/debian bookworm/mongodb-org/8.0 main" | sudo tee /etc/apt/sources.list.d/mongodb-org-8.0.list
- 安裝 MongoDB 服務
sudo apt-get update && sudo apt-get install -y mongodb-org
- 設定 MongoDB 啟動服務
# 重新載入系統設定檔
sudo systemctl daemon-reload

# 開機時自動啟動
sudo systemctl enable --now mongod.service

# 查看目前該服務狀態
sudo systemctl status mongod.service
CVE-Search 相關設定
- 初始化資料,這需要一點時間但也是要看您所給予該台的資源是什麼樣子的規格
./sbin/db_updater.py -f -c
- 手動更新資料庫之前要先連到虛擬環境不然會無法正常執行程式
./sbin/db_updater.py
- BUBU 另外用
BASH方式來執行vim update.sh
#!/bin/bash

source /opt/cve/cve-search/cve-env/bin/activate && python3 /opt/cve/cve-search/sbin/db_updater.py
- 讓這個腳本有執行
chmod +x update.sh
- 用
systemd定期更新資料庫vim /etc/systemd/system/cvesearch.db_updater.service
[Unit]
Description=circl dot lu CVE-Search db_updater service
Requires=mongod.service redis-server.service
After=network.target cvesearch.db_init.service cvesearch.db_repopulate.service mongod.service redis-server.service
Documentation=https://cve-search.github.io/cve-search/database/database.html

[Service]
#WorkingDirectory=/opt/cve/cve-search
# 修改成剛剛用 BASH 腳本位置
ExecStart=/opt/cve/cve-search/update.sh
# 執行人員
User=root
Type=oneshot
SyslogIdentifier=cvesearch.db_updater
- 用
systemd定期呼叫cvesearch.db_updater.service服務vim /etc/systemd/system/cvesearch.db_updater.timer
[Unit]
Description=circl dot lu CVE-Search db_updater trigger timer

[Timer]
Unit=cvesearch.db_updater.service
OnActiveSec=0
OnUnitActiveSec=3600
OnUnitInactiveSec=3600
RandomizedDelaySec=300

[Install]
WantedBy=timers.target
- 重新登入
systemd服務
sudo systemctl daemon-reload
- 啟動服務
sudo systemctl enable cvesearch.db_updater.timer --now
設定 Web 服務
- 先複製設定檔
cp /opt/cve/cve-search/etc/configuration.ini.sample /opt/cve/cve-search/etc/configuration.ini
- 修改設定
vim /opt/cve/cve-search/etc/configuration.ini預設是127.0.0.1要修改成0.0.0.0
[Webserver]
# 改成 0.0.0.0
Host: 0.0.0.0
Port: 5000
Debug: True
SSLDebug: False
PageLength: 50
LoginRequired: False
ListLoginRequired: True
authSettings: ./etc/auth.txt
OIDC: False
CLIENT_ID: xx
CLIENT_SECRET: xx
IDP_DISCOVERY_URL: xx
SSL_VERIFY: False
SSL: False
Certificate: ./ssl/cve-search.crt
Key: ./ssl/cve-search.crt
WebInterface: Full
MountPath: /MOUNT
- 啟動 WEB 服務一樣要先進到虛擬環境才能執行,一樣先用腳本方式來執行該服務
vim web.sh
#!/bin/bash

source /opt/cve/cve-search/cve-env/bin/activate && python3 /opt/cve/cve-search/web/index.py
- 自動啟動 web 服務
vim /etc/systemd/system/cvesearch.web.service
[Unit]
Description=circl dot lu CVE-Search Web Server
Requires=mongod.service
After=network.target cvesearch.db_init.service cvesearch.db_repopulate.service mongod.service
Documentation=https://cve-search.github.io/cve-search/webgui/webgui.html

[Service]
#WorkingDirectory=/opt/cve/cve-search
ExecStart=/opt/cve/cve-search/web.sh
User=root
Type=simple
SyslogIdentifier=cvesearch.web
Restart=always
RestartSec=5
MemoryHigh=2G
MemoryMax=3G

[Install]
WantedBy=multi-user.target
- 重新登入
systemd服務
sudo systemctl daemon-reload
- 啟動服務
sudo systemctl enable cvesearch.web.service --now
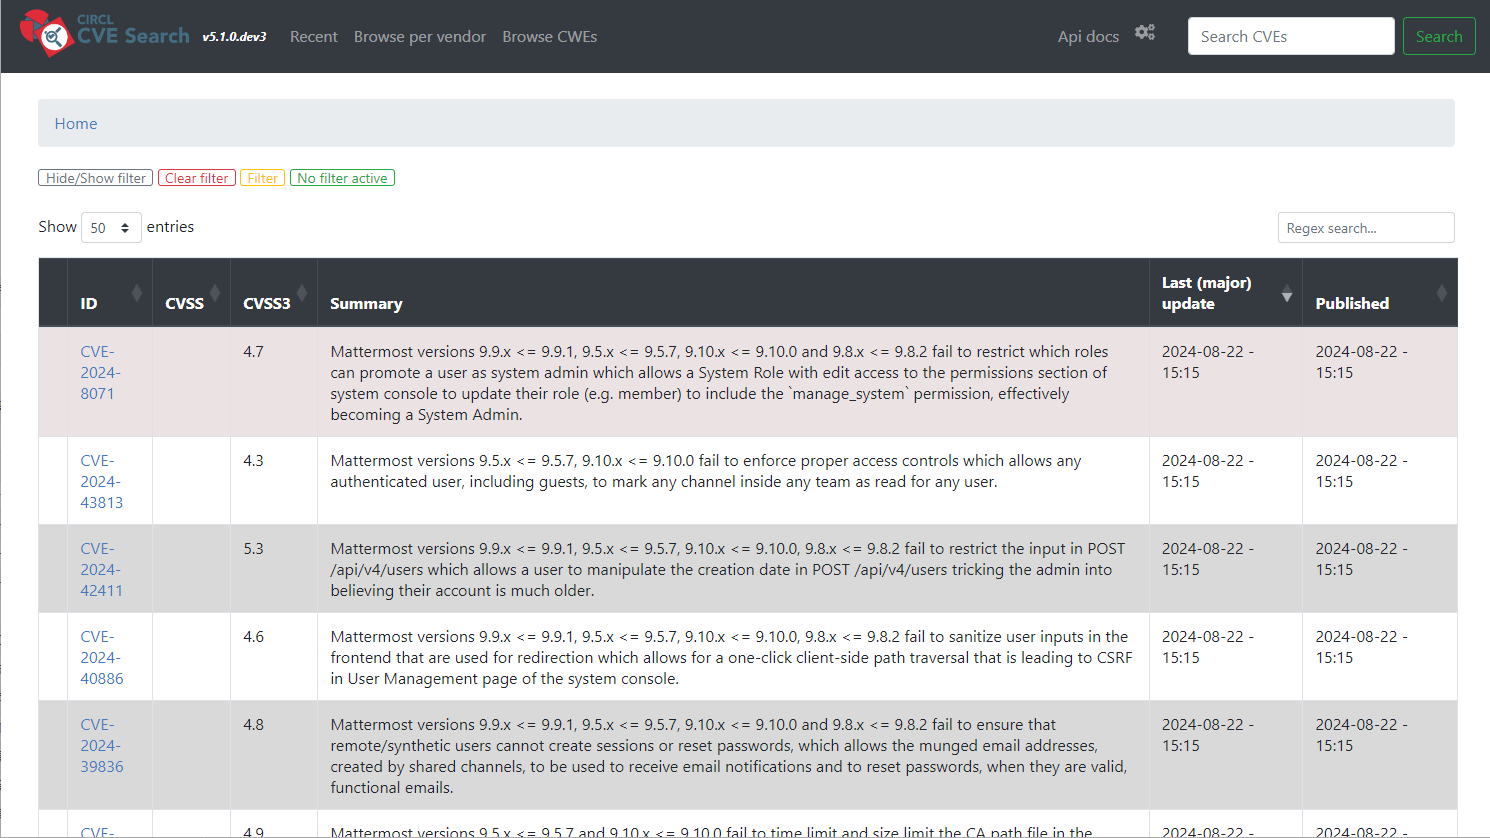
- 用此網址去連線
http://cve站台位置:5000,連上後正常會跟下面圖示一樣
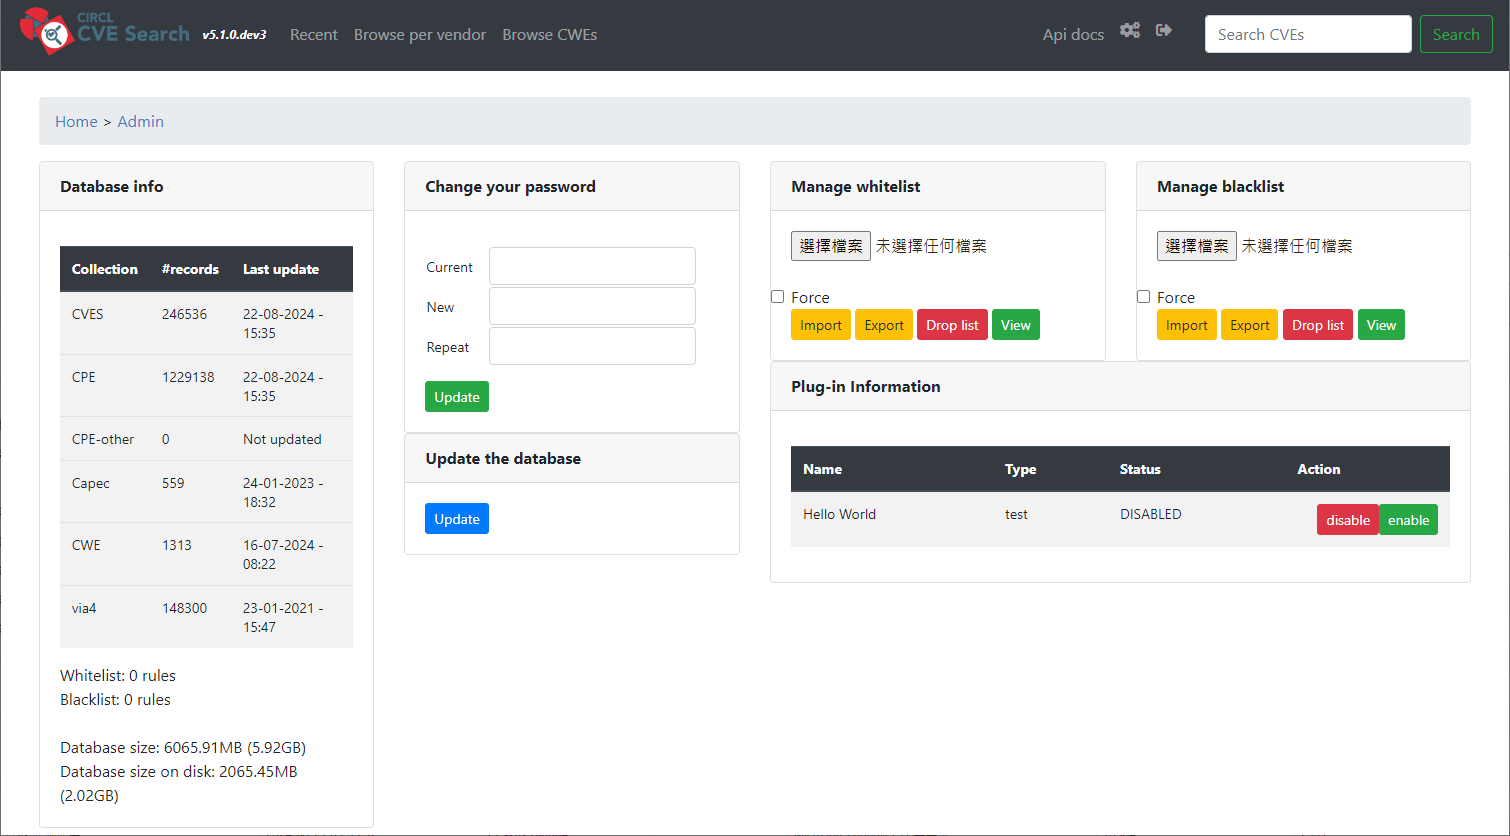
- 管理介面
http://cve站台位置:5000/admin,可在這裡手動更新資料以及目前資料狀況
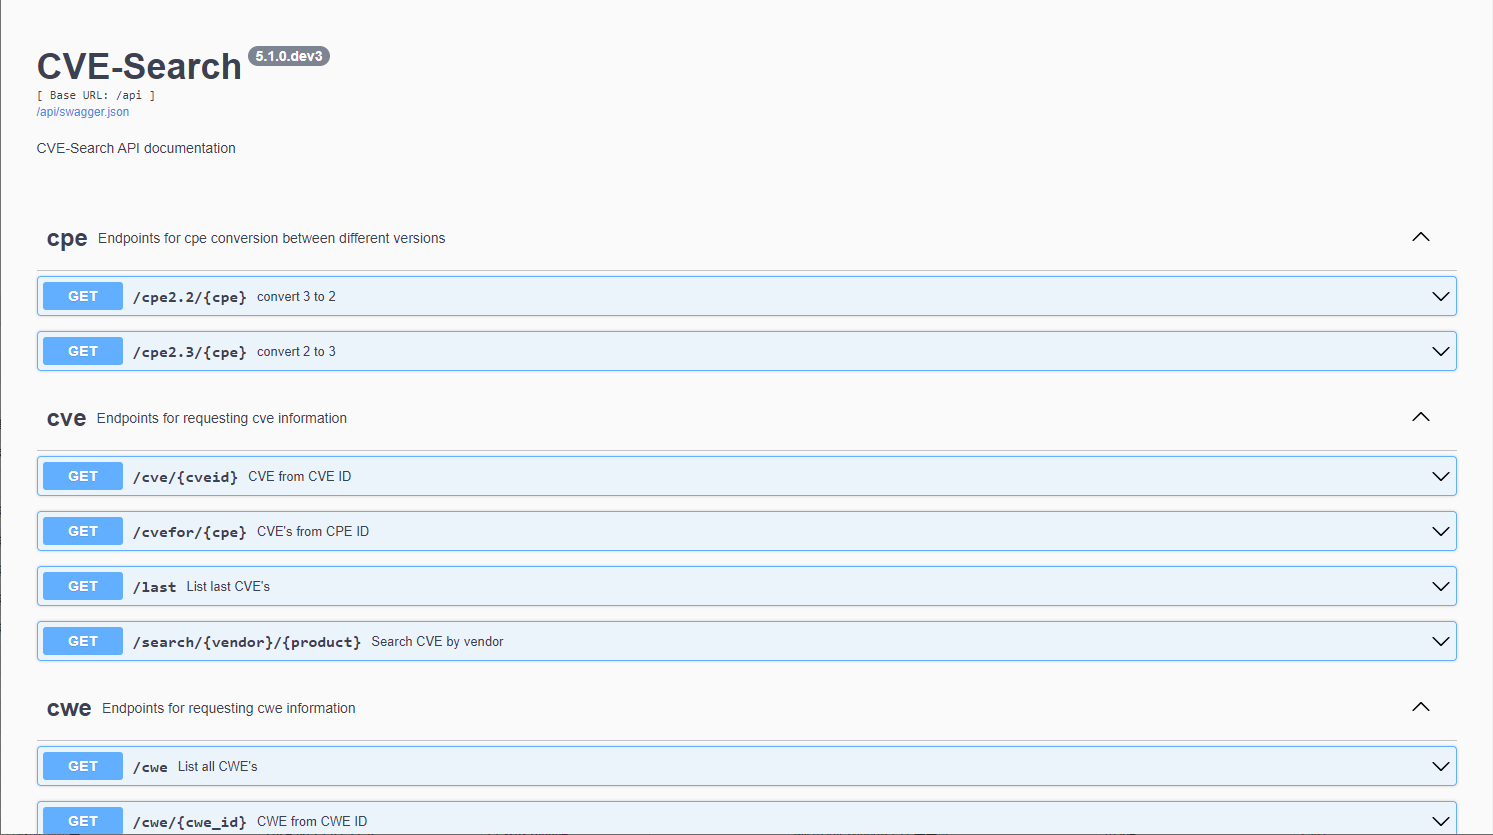
- api 介面
http://cve站台位置:5000/api