OCS Inventory + GLPI 結合應用
這兩套是互相搭配使用安裝方式如下
OCS 設定允許 GLPI 服務取資料
- 登入
OCS Inventory畫面,進入設定
- 選擇
Server服務
- 裡面會看到一個是
TRACE_DELETED這個項目,預設是OFF,要選擇ON這樣子GLPI才能正確取得資料
ocsinventoryng 外掛
-
請先前往 GLPI 官方於 GitHub 上所提供的外掛套件專區,下載整合 OCS Inventory 所需的外掛套件
ocsinventoryng,服務套件下載位置 ocsinventoryng -
先進到
GLPI套件目錄
cd /var/www/html/glpi/plugins
2025.04.27 更新 ocsinventoryng 套件版本為 2.0.5 版
- 下載套件
wget https://github.com/pluginsGLPI/ocsinventoryng/releases/download/2.0.5/glpi-ocsinventoryng-2.0.5.tar.bz2
- 解壓縮剛剛下載檔案
tar jxvf glpi-ocsinventoryng-*.tar.bz2
- 刪除壓縮包
rm glpi-ocsinventoryng-*.tar.bz2
- 解壓後的權限只能給 WEB 使用
chown -R www-data:www-data ocsinventoryng/
chmod -R 0755 ocsinventoryng/
- 登入
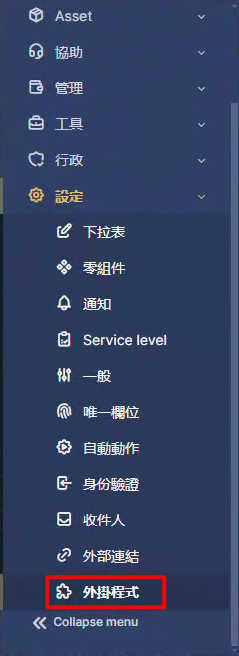
GLPI畫面進去設定到設定裡面有一個外掛程式
- 裡面會看到剛剛解壓好的
OCS Inventory NG的名稱並且安裝
- 安裝完成後,系統畫面右下角會詢問是否啟用此外掛,按啟動即可
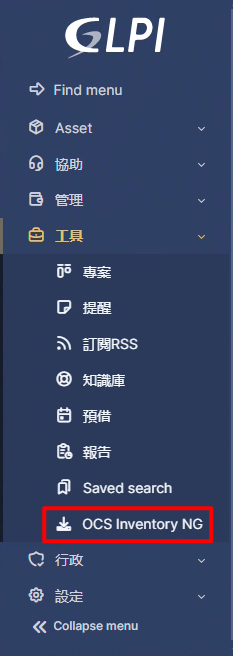
- 再到工具那會看到剛剛新增好的 OCS Inventory NG 功能
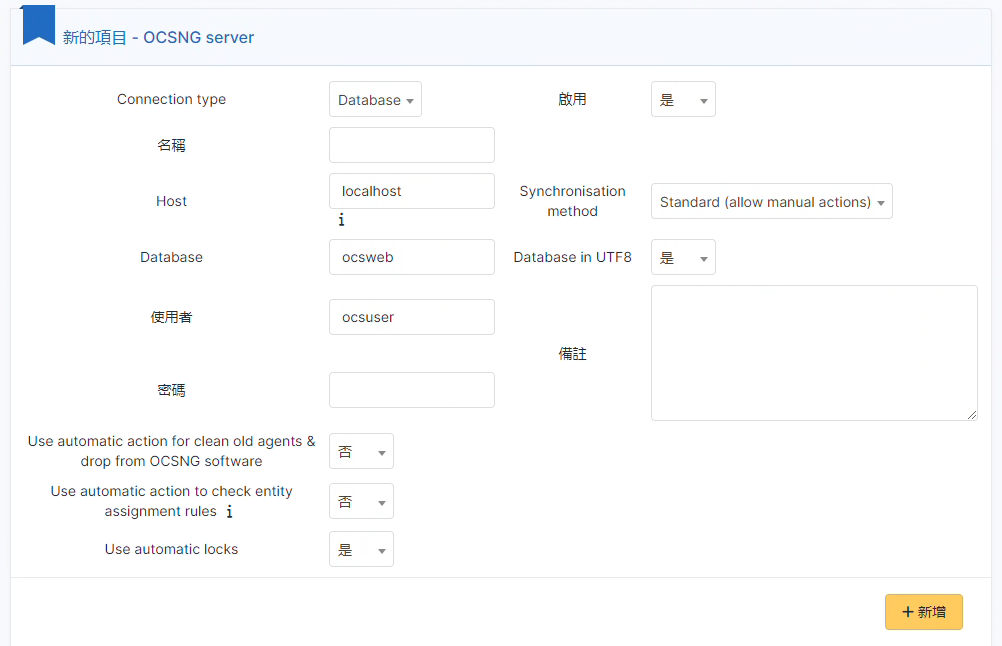
- 選擇後開始新增設定連接
OCS Inventory NG資料
- 只要將剛剛建在
OCS Inventory NG的資料庫連接方式填入然後按下新增
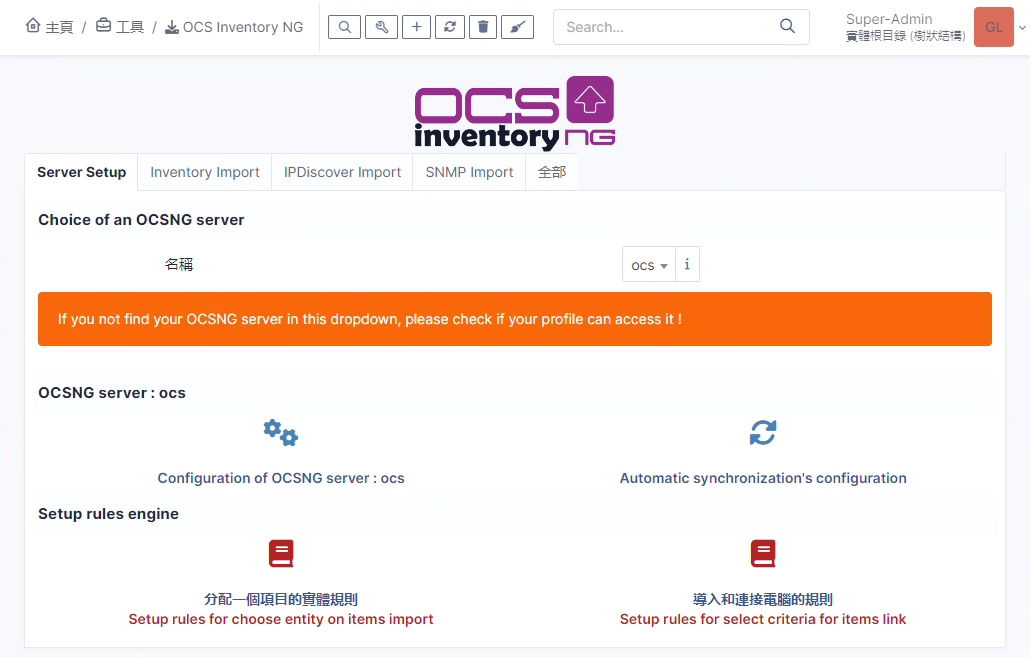
- 設定完成的畫面
- 開始同步
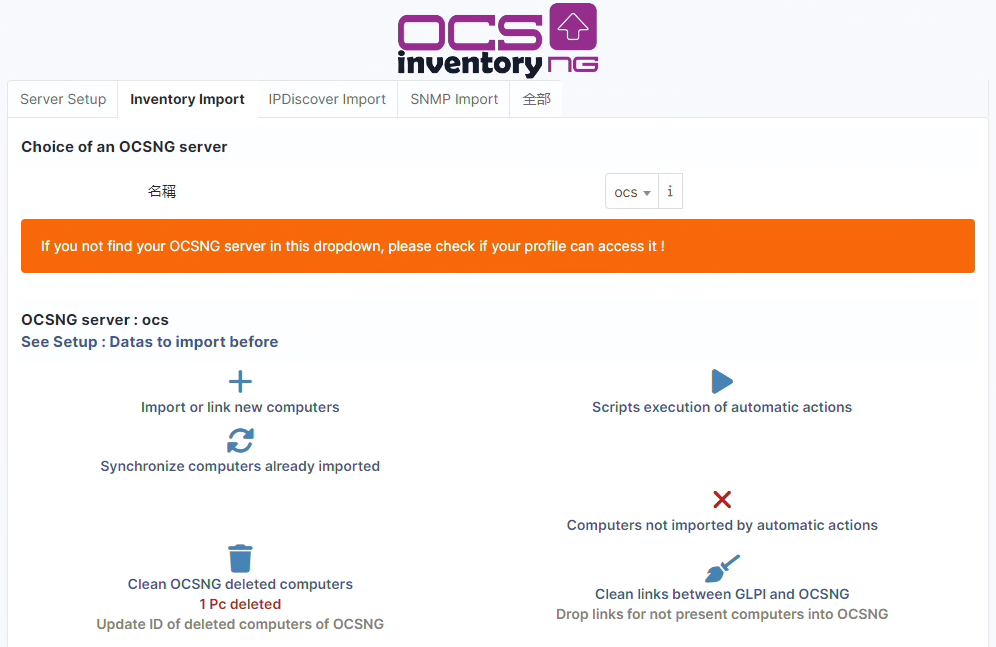
OCS Inventory資料過來給GLPI使用,按下 Inventory Import 選項,然後再按下Lmport or link new computers
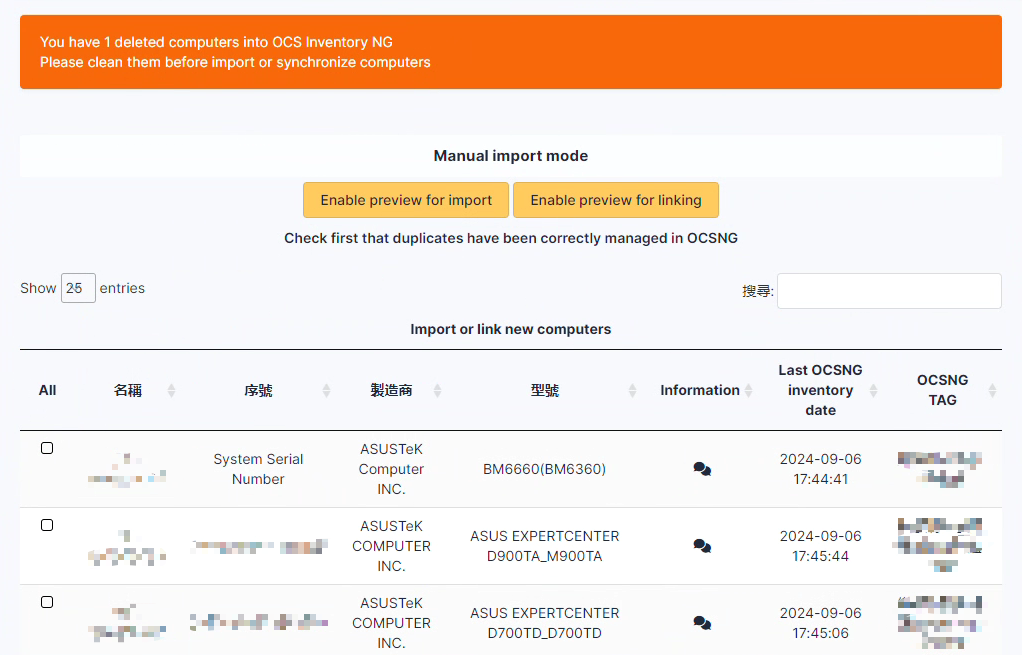
- 匯入的資料,先讓你看過有那些設備要匯入
- 匯入完成的畫面
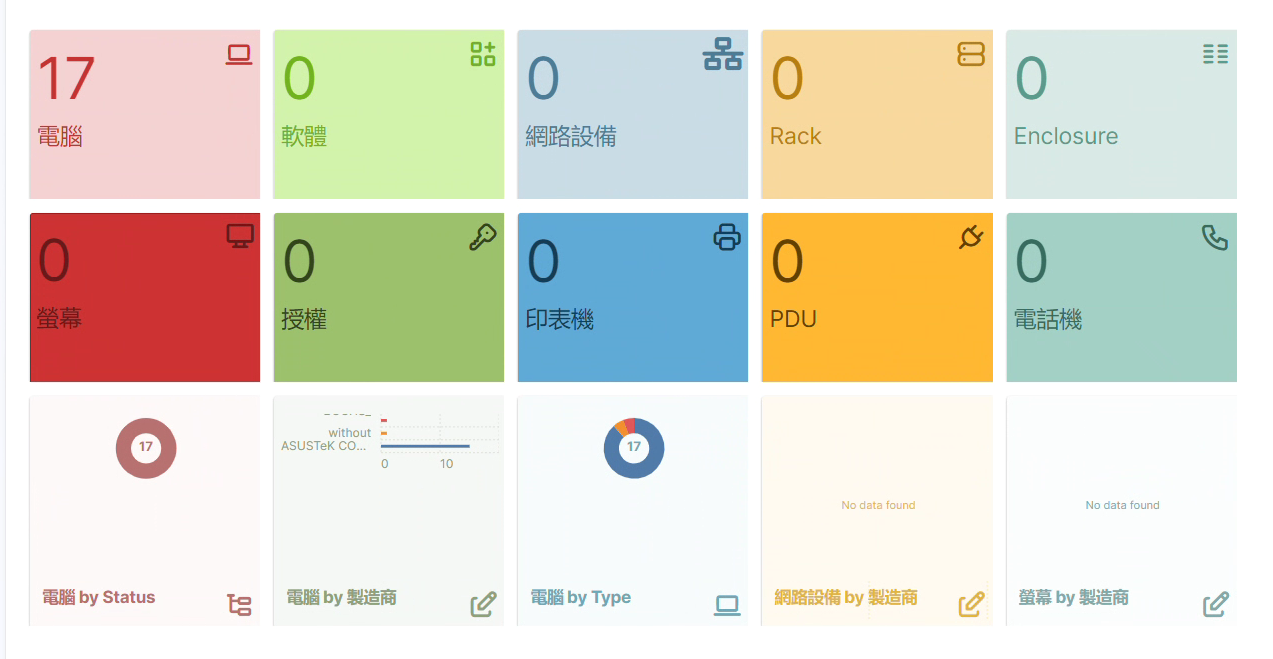
- 匯入成功後在儀錶板看到數量
補充說明
- 設定讓
GLPI及OCS Inventory自動同步,使用程排方式來同步
# 因該執行檔權限不夠,所以而要給予 766 的權限才能正常執行不然會一直顯示錯誤
chmod 0766 /var/www/html/glpi/plugins/ocsinventoryng/scripts/ocsng_fullsync.sh
chmod 0766 /var/www/html/glpi/plugins/ocsinventoryng/scripts/ocsng_snmpfullsync.sh

*/60 * * * * /var/www/html/glpi/plugins/ocsinventoryng/scripts/ocsng_fullsync.sh >> /var/log/ocslog.log 2>&1
*/70 * * * * /var/www/html/glpi/plugins/ocsinventoryng/scripts/ocsng_snmpfullsync.sh >> /var/log/ocsng_snmpfullsync.log 2>&1
*/1 * * * * php /var/www/html/glpi/front/cron.php > /var/log/cron.log 2>&1


