
Duplicati 備份系統
BUBU 之前看了節省哥的文章剛好有看到這一套開源等級檔案式備份系統 Duplicati 之前因為一直都沒有時間可以測試,剛好公司內部有這樣子需求,因之前都是自己去參考網路的上的備份方式來修改腳本。
運行環境
環境都是在 「Proxmox VE 」 虛擬系統上架設,都是以 「 LXC 」模式為主,除非有特殊狀況會告知使用 「 VM 」 模式
- 系統環境: Debian 10、11
- Web 服務: Nginx 1.21.7
安裝過程
因為這一套是用 C# 語言去寫的所以需要有 .net 的環境才能正常運行,那 Linux 如果想要這樣子的環境需要另外安裝套件 Mono 才能正常運行這一套備份系統。
安裝 Mono 套件
- 安裝認證 key
sudo apt-key adv --keyserver hkp://keyserver.ubuntu.com:80 --recv-keys 3FA7E0328081BFF6A14DA29AA6A19B38D3D831EF
- 新增加來源庫
echo "deb http://download.mono-project.com/repo/debian buster main" | sudo tee /etc/apt/sources.list.d/mono-official.list
- 更新系統
apt update
- 安裝 mono
apt install mono-devel
安裝 Duplicati
- 安裝必要套件
apt install apt-transport-https nano git-core software-properties-common dirmngr -y
- 下載安裝包 官方載點 看是什麼系統選擇安裝檔
wget https://updates.duplicati.com/beta/duplicati_2.0.6.3-1_all.deb
- 安裝 Duplicati 服務
apt install ./duplicati_2.0.6.3-1_all.deb -y
- 修改
vim /etc/default/duplicati(如果連線不到可能是這一段沒新增到)
# Defaults for duplicati initscript
# sourced by /etc/init.d/duplicati
# installed at /etc/default/duplicati by the maintainer scripts

#
# This is a POSIX shell fragment
#

# Additional options that are passed to the Daemon.
# DAEMON_OPTS後面沒有值,需要手動給他值才能正常連線
DAEMON_OPTS="--webservice-interface=any --webservice-port=8200 --portable-mode"
- 啟動服務
systemctl enable duplicati && systemctl start duplicati
-
在用 http://站台ip:8200 就可以看到畫面了。
-
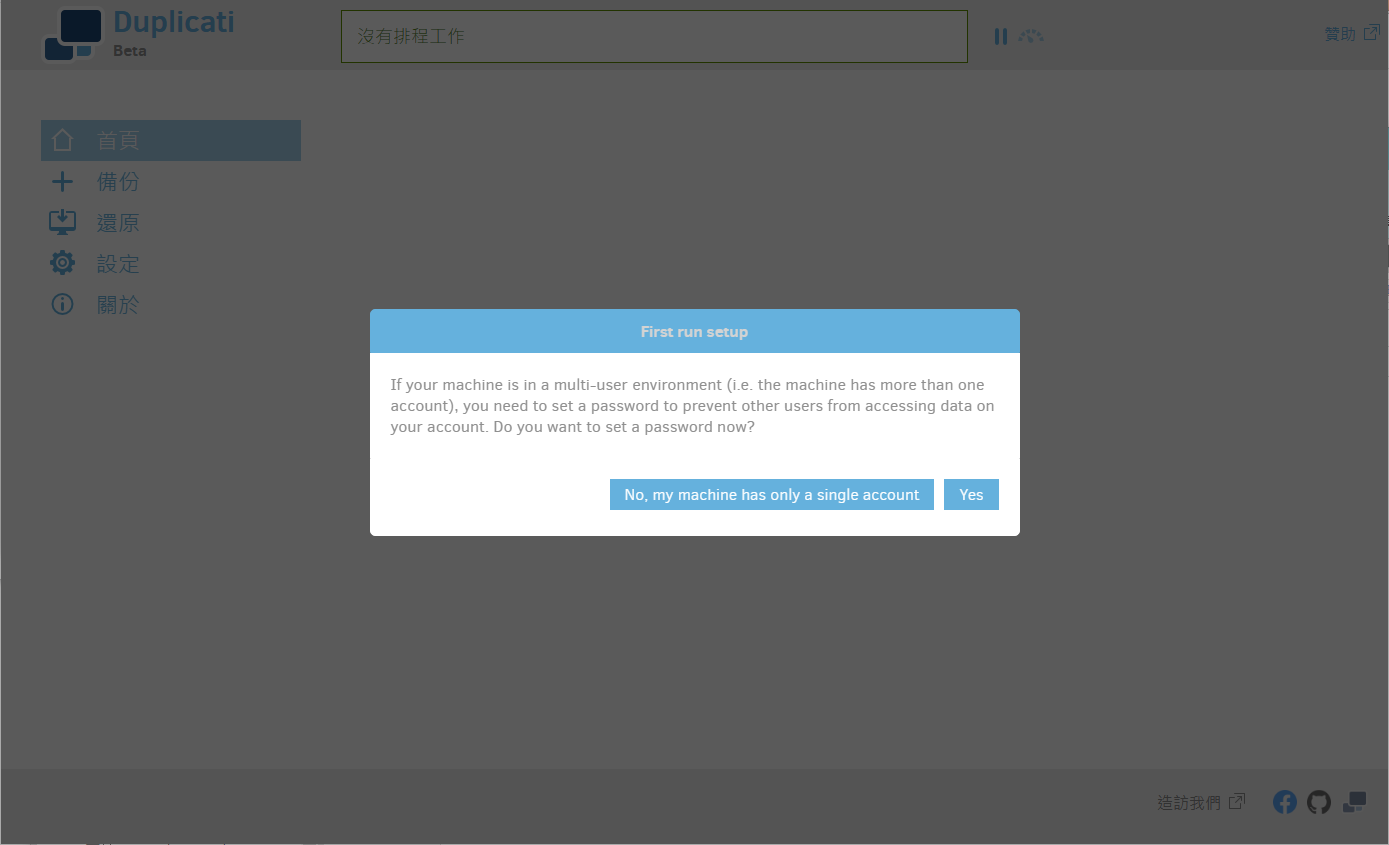
登入會看這樣子的畫面,會詢問是是否要新增密碼
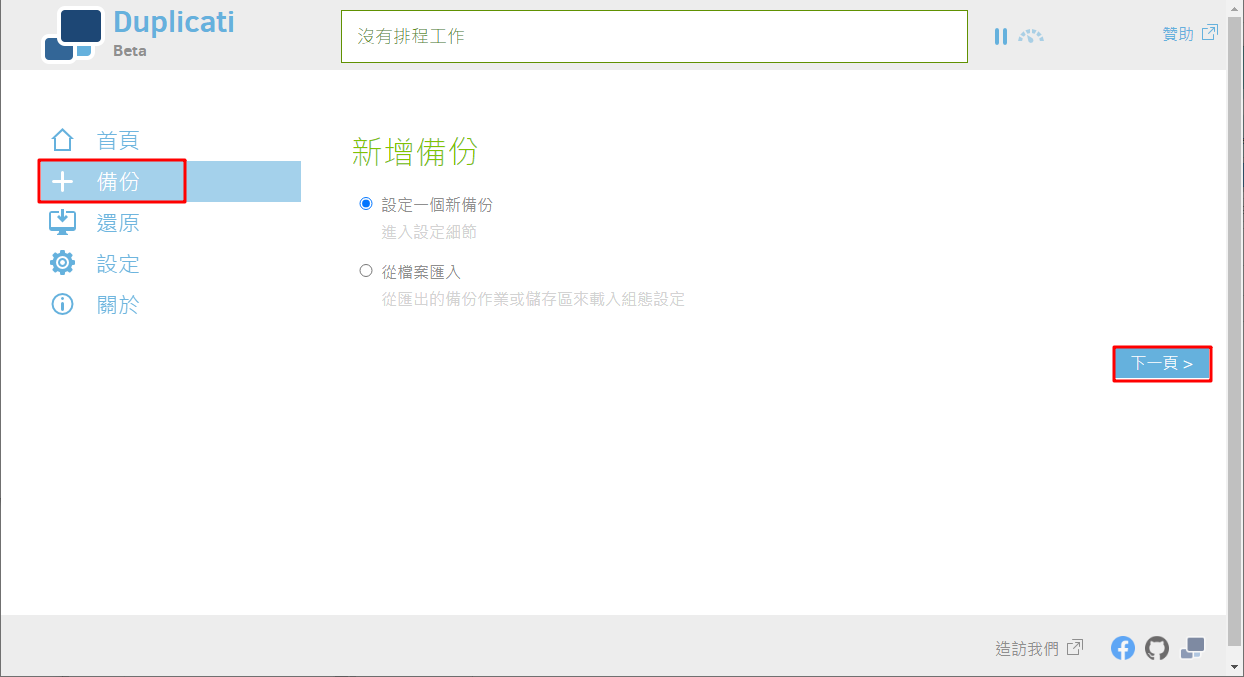
- 我們就先新增了備份
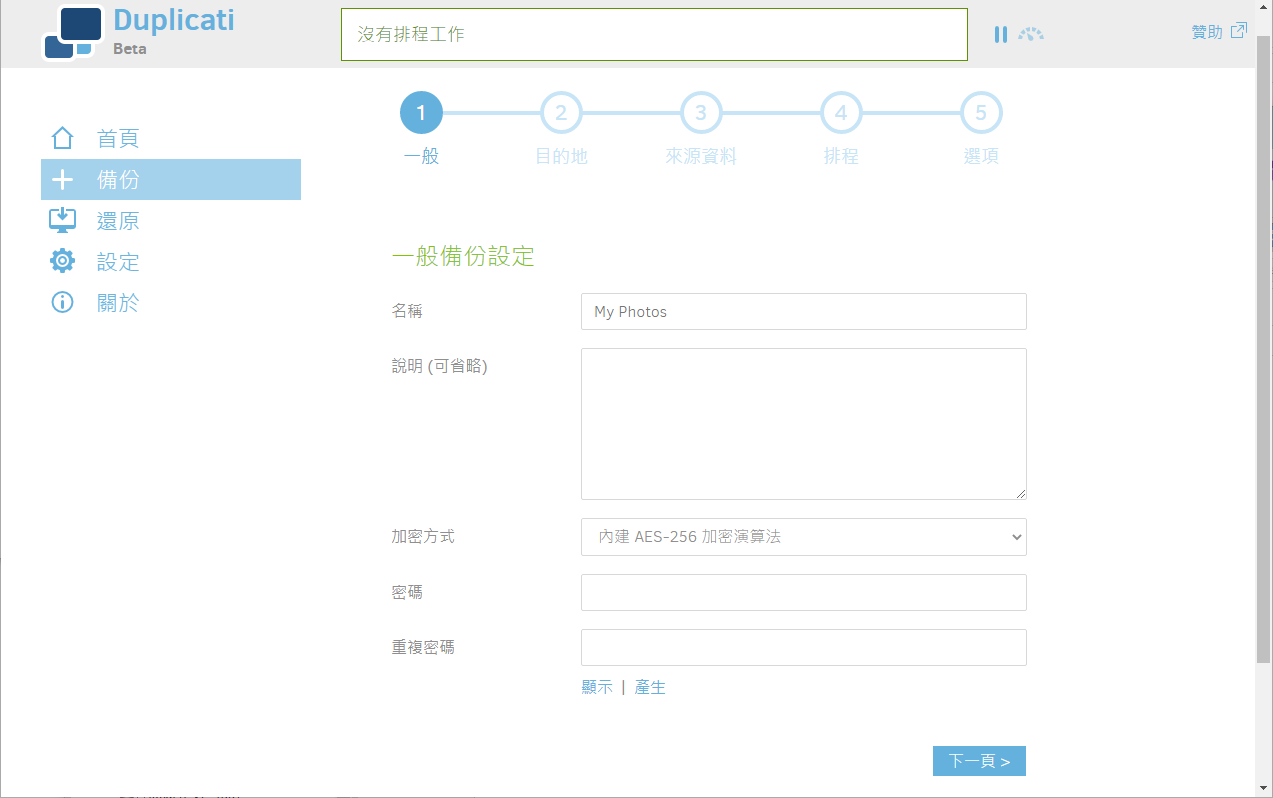
- 填入要備份的名稱及是否有要加密,因為備份起來是會是壓縮檔。
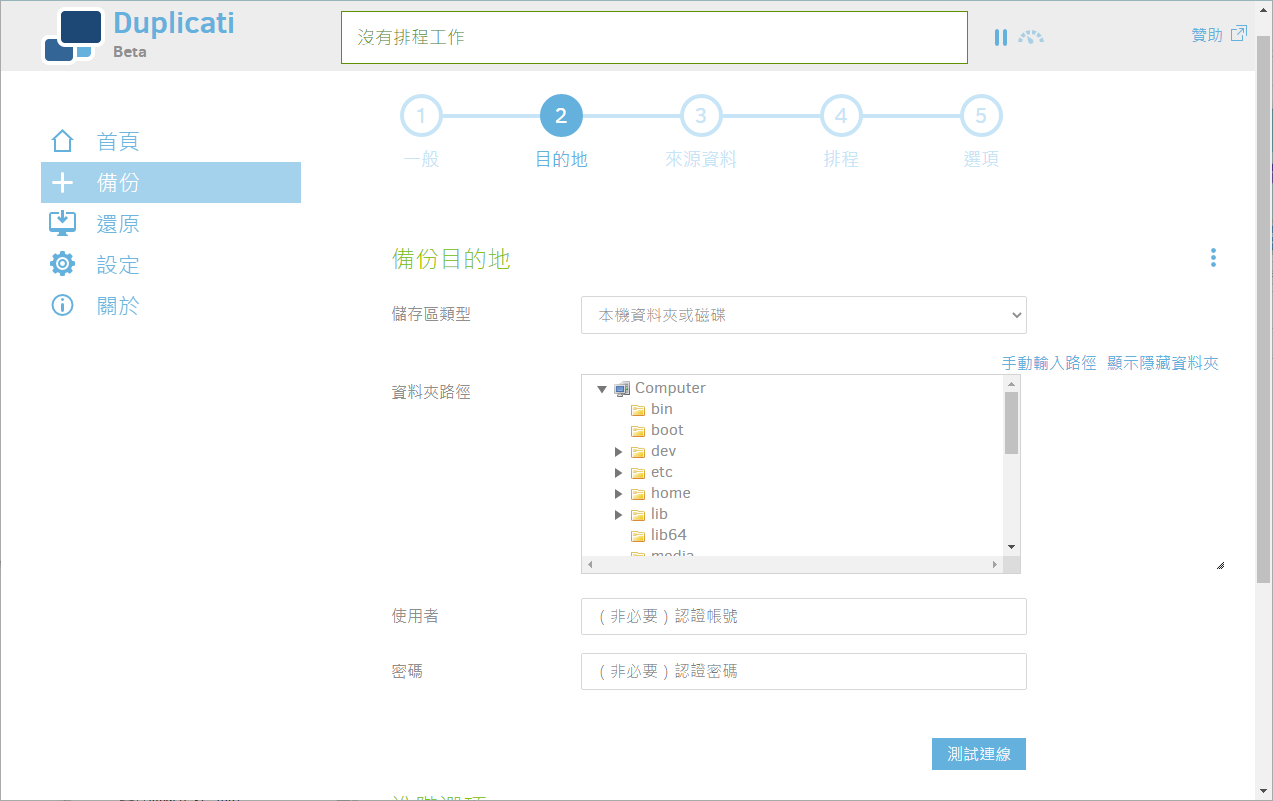
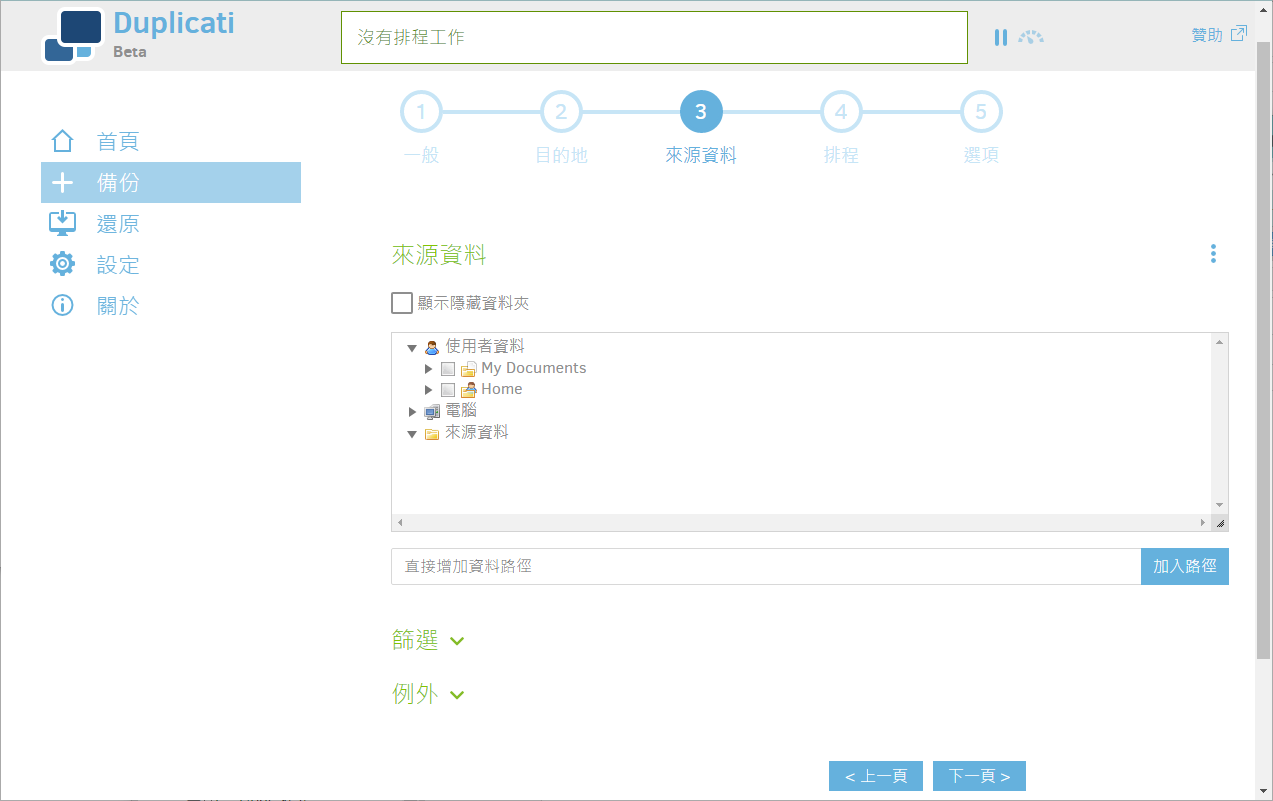
- 設定要備份的地方。
- 設定要備份的資料
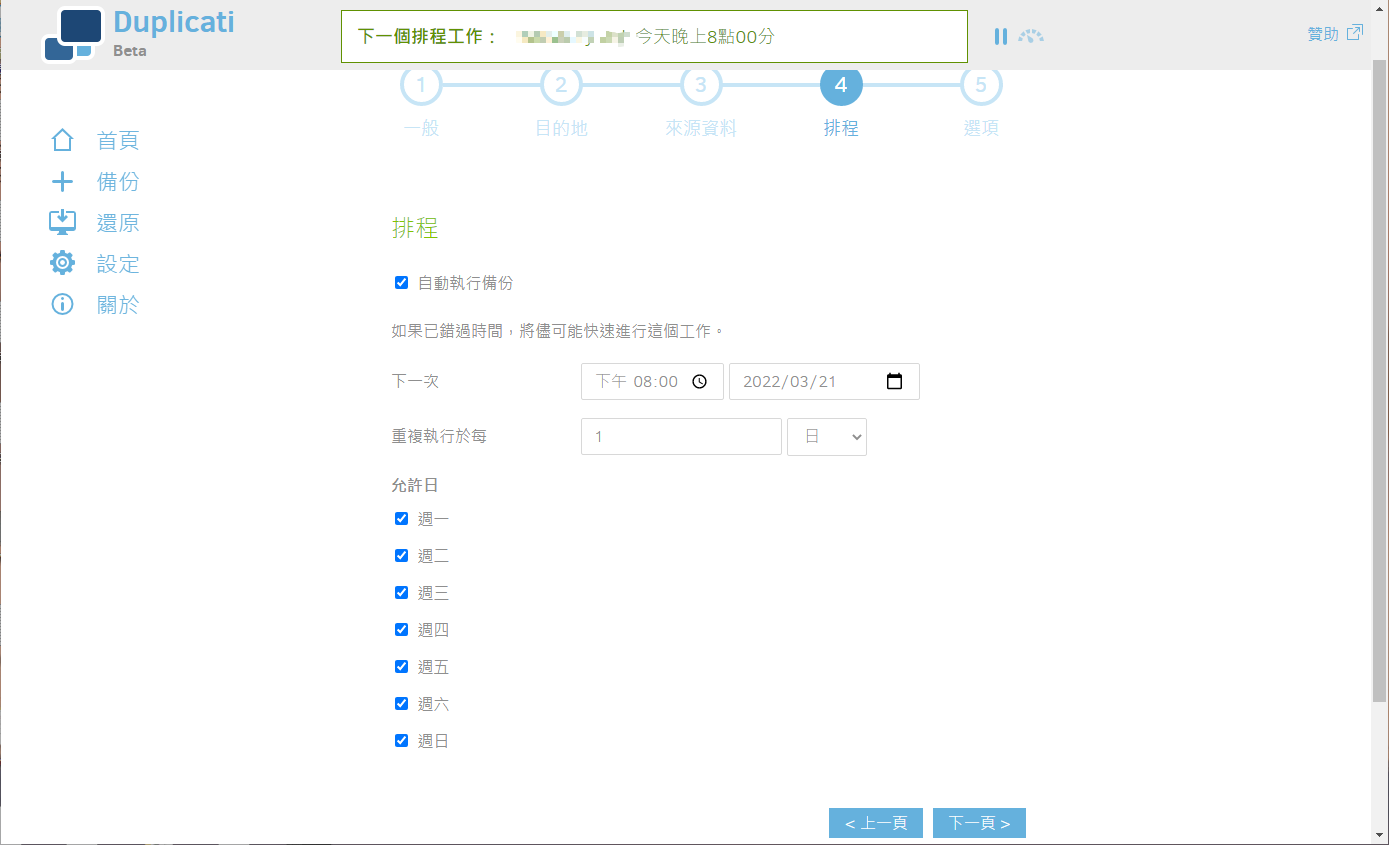
- 設定備份排程
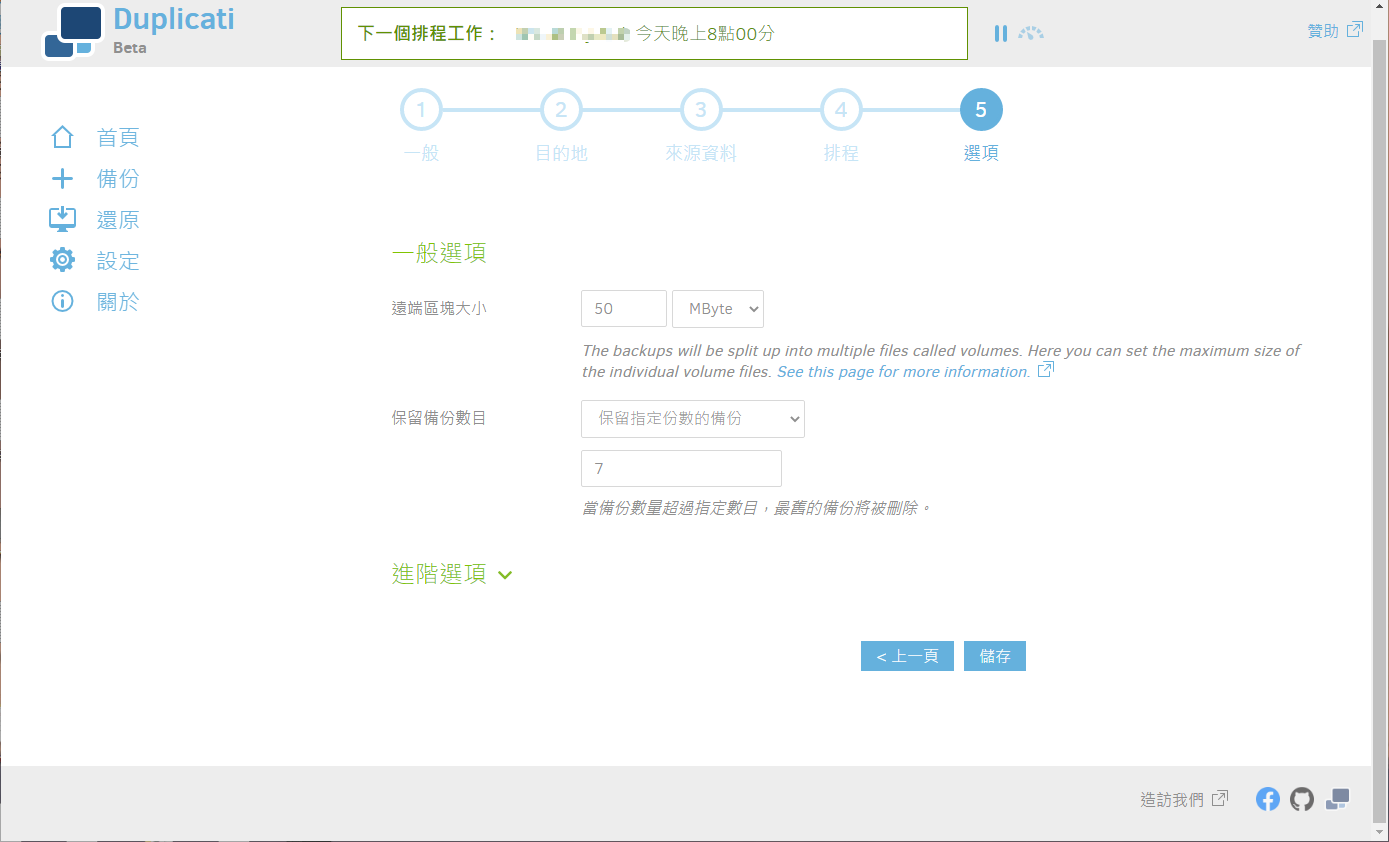
- 這裡需要設定保留備份數量
Nginx 反代理
如果不想要輸入 port 號可以用反代理的方式來連線。
- 安裝 nginx
apt install nginx
- 新增加 Duplicati 設定檔
vim /etc/nginx/conf.d/duplicati.conf
server {
  listen 80;
  server_name duplicati.example.com;

  access_log /var/log/nginx/duplicati_access.log;
  error_log /var/log/nginx/duplicati_error.log;
  location / {
     proxy_pass http://127.0.0.1:8200;
     proxy_set_header X-Real-IP $remote_addr;
     proxy_set_header X-Forwarded-For $proxy_add_x_forwarded_for;
  }
}
- 啟動 nginx 服務
systemctl start nginx && systemctl enable nginx
電子郵件設定
- 在設定頁面下有一個預設選項點選編輯文字內容
--accept-any-ssl-certificate=true
--send-mail-from= 寄件者名稱 <寄件者郵件>
--send-mail-subject=Duplicati %OPERATIONNAME% report for %backup-name%
--send-mail-to=收件者郵件
--send-mail-url=smtp://郵件伺服器:587/?starttls=when-available
--send-mail-body=%RESULT%
--send-mail-username=登入帳號
--send-mail-password=登入密碼
--send-mail-level=all