
phpIPAM 設定及安裝過程 (NGINX版)
因之前 IP 管理都是用 EXCEL 表單來做記錄,那有時候如果忘了記錄就比較麻煩不知道是否有記錄到新的 IP ,自從看到 Jason Cheng 在介紹用系統來管理目前所使用的 IP 服務,以下是安裝流程及設定。
補充說明:
如果想要架設在 lxc 模式的下面的,會有問題某些功能會無法正常使用,我使用的系統是 PVE + LXC CentOS 7 模式來測試的,建議架設在 VM 模式下原不能使用的功能都能正常使用了。
運行環境
本工作室環境都是在 「Proxmox VE 」 虛擬系統上架設,都是以 「 LXC 」模式為主,除非有特殊狀況會告知使用 「 VM 」 模式
- 系統環境: CentOS 7
- Web 服務: Nginx 1.17
- PHP 服務: PHP 7.4
- 資料庫服務: MariaDB 10.4
Ngnix 安裝
- Web 安裝服務採用 Nginx 來使用,安裝流程請參考本知識庫之前所記錄的文章 啟用Nginx 支援到 OpenSSL TLS1.3 安全協定
MariaDB 安裝
- 新增加 MariaDB 來源庫
vim /etc/yum.repos.d/MariaDB.repo
- 將官方所提供的來源庫的資訊填入
# MariaDB 10.4 CentOS repository list - created 2019-08-10 02:29 UTC
# http://downloads.mariadb.org/mariadb/repositories/
[mariadb]
name = MariaDB
baseurl = http://yum.mariadb.org/10.4/centos7-amd64
gpgkey=https://yum.mariadb.org/RPM-GPG-KEY-MariaDB
gpgcheck=1
- 安裝資料庫
yum install MariaDB-server MariaDB-client -y
資料庫及基本設定
- 啟動資料庫及開機自動啟動
systemctl enable mariadb ; systemctl start mariadb
- 設定資料庫初始化,初始化過程都採取用預設值只要一直按下,「 Enter 」鍵即可,只有 root 帳號的密碼要輸入
mysql_secure_installation

NOTE: RUNNING ALL PARTS OF THIS SCRIPT IS RECOMMENDED FOR ALL MariaDB
      SERVERS IN PRODUCTION USE!  PLEASE READ EACH STEP CAREFULLY!

In order to log into MariaDB to secure it, we'll need the current
password for the root user. If you've just installed MariaDB, and
haven't set the root password yet, you should just press enter here.

Enter current password for root (enter for none):
OK, successfully used password, moving on...

Setting the root password or using the unix_socket ensures that nobody
can log into the MariaDB root user without the proper authorisation.

You already have your root account protected, so you can safely answer 'n'.

Switch to unix_socket authentication [Y/n]
Enabled successfully!
Reloading privilege tables..
 ... Success!


You already have your root account protected, so you can safely answer 'n'.

Change the root password? [Y/n]
New password:
Re-enter new password:
Password updated successfully!
Reloading privilege tables..
 ... Success!


By default, a MariaDB installation has an anonymous user, allowing anyone
to log into MariaDB without having to have a user account created for
them.  This is intended only for testing, and to make the installation
go a bit smoother.  You should remove them before moving into a
production environment.

Remove anonymous users? [Y/n]
 ... Success!

Normally, root should only be allowed to connect from 'localhost'.  This
ensures that someone cannot guess at the root password from the network.

Disallow root login remotely? [Y/n]
 ... Success!

By default, MariaDB comes with a database named 'test' that anyone can
access.  This is also intended only for testing, and should be removed
before moving into a production environment.

Remove test database and access to it? [Y/n]
 - Dropping test database...
 ... Success!
 - Removing privileges on test database...
 ... Success!

Reloading the privilege tables will ensure that all changes made so far
will take effect immediately.

Reload privilege tables now? [Y/n]
 ... Success!

Cleaning up...

All done!  If you've completed all of the above steps, your MariaDB
installation should now be secure.

Thanks for using MariaDB!
- 另外建立一組使用者給服務使用
mysql -u root -p

GRANT ALL PRIVILEGES ON phpipamdb.* TO 'phpipamuser'@'localhost' IDENTIFIED BY '設定使用者密碼' WITH GRANT OPTION;
FLUSH PRIVILEGES;
exit
PHP 安裝
- 先安裝額外的套件及載點
yum install -y epel-release yum-utils
- 因內建預設版本是 PHP 5.4 因此本版官方已不在維護,建議直接安裝當時官方所提供主要版本,現在安裝版本是 PHP 7.3
rpm -Uvh http://rpms.famillecollet.com/enterprise/remi-release-7.rpm
yum-config-manager --disable remi-php54
yum-config-manager --enable remi-php73
- 安裝 PHP 必要套件
yum install -y php php-cli php-gd php-common php-ldap php-pdo php-pear php-snmp php-xml php-mysql php-mbstring php-gmp php-fpm php-mcrypt git
- 安裝好 PHP 要去修改
vim /etc/php.ini設定檔
修改前
;cgi.fix_pathinfo=1
修改後
cgi.fix_pathinfo=0
修改時區
[Date]
修改前
;date.timezone =
修改後
date.timezone = Asia/Taipei

存檔
:wq
- 設定「php-fpm」
vim /etc/php-fpm.d/www.conf
由誰使用此服務
; RPM: apache user chosen to provide access to the same directories as httpd
;user = apache
user = nginx
; RPM: Keep a group allowed to write in log dir.
group = apache

listen = 127.0.0.1:9000

; Set permissions for unix socket, if one is used. In Linux, read/write
; permissions must be set in order to allow connections from a web server.
; Default Values: user and group are set as the running user
;                 mode is set to 0660
listen.owner = nginx
listen.group = nginx
listen.mode = 0660

修改好存檔
:wq
- 重啟及開機自動啟動 php-fpm 服務
systemctl restart php-fpm ; systemctl enable php-fpm
phpIPAM 安裝設定
- 設定 wbe 服務所需要的目地下載服務
cd /var/www/html/
下載官方在 github
git clone https://github.com/phpipam/phpipam.git
進到 phpipam 目錄
cd phpipam/
確認安裝的版本
git submodule update --init --recursive
- 設定該目錄的權限
chown nginx:nginx -R /var/www/html/phpipam/
- 複製一份 phpIPAM 設定檔
cp config.dist.php config.php
- 設定 phpIPAM 設定檔
vim config.php

設定資料庫的帳密訊息
/**
 * database connection details
 ******************************/
$db['host'] = 'localhost';
$db['user'] = 'phpipam';
$db['pass'] = 'phpipamadmin';
$db['name'] = 'phpipamdb';
$db['port'] = 3306;

if(!defined('BASE'))
define('BASE', "/");
NGINX 設定檔
- 服務設定
vim phpipam.conf

server {
# 這個主機的 Port
    listen 80;
# 這個主機的名稱
    server_name 服務主機位置;
    root /var/www/html/phpipam;
#
    access_log /var/log/nginx/phpipam_access.log;
    error_log /var/log/nginx/phpipam_error.log;
#
    client_max_body_size 1G;
    fastcgi_buffers 64 4K;
#
# html 檔
    # phpipam
    location / {
        try_files $uri $uri/ /index.php;
        index index.php;
    }
    # phpipam - api
    location /api/ {
        try_files $uri $uri/ /api/index.php;
    }
    location = /50x.html {
        root /usr/share/nginx/html;
    }
# pass the PHP scripts to FastCGI server listening on 127.0.0.1:9000
#
# php 檔
    location ~ \.php$ {
        fastcgi_pass 127.0.0.1:9000;
        fastcgi_index index.php;
        try_files $uri = 404;
        fastcgi_param SCRIPT_FILENAME  $document_root$fastcgi_script_name;
        include fastcgi_params;
    }
#
    location ~* \.(?:ogg|ogv|svg|svgz|eot|otf|woff|mp4|ttf|css|rss|atom|js|jpg|jpeg|gif|png|ico|zip|tgz|gz|rar|bz2|doc|xls|exe|ppt|tar|mid|midi|wav|bmp|rtf)$ {
        expires 30d;
        log_not_found off;
    }
# deny access to .htaccess files, if Apache's document root
# concurs with nginx's one
#
#    location ~ /\.ht {
#        deny all;
#    }
# 發生 404 指定導向哪個網頁
#error_page  404              /404.html;
# redirect server error pages to the static page /50x.html
#
    error_page 500 502 503 504  /50x.html;
# proxy the PHP scripts to Apache listening on 127.0.0.1:80
#
# location ~ \.php$ {
#    proxy_pass   http://127.0.0.1;
#}
}
- 檢查 nginx 設定是否正確
nginx -t

nginx: the configuration file /etc/nginx/nginx.conf syntax is ok
nginx: configuration file /etc/nginx/nginx.conf test is successful
- 重啟 nginx 服務
systemctl restart nginx
- 開啟瀏灠器輸入服務主機 ip
WEB 服務設定畫面
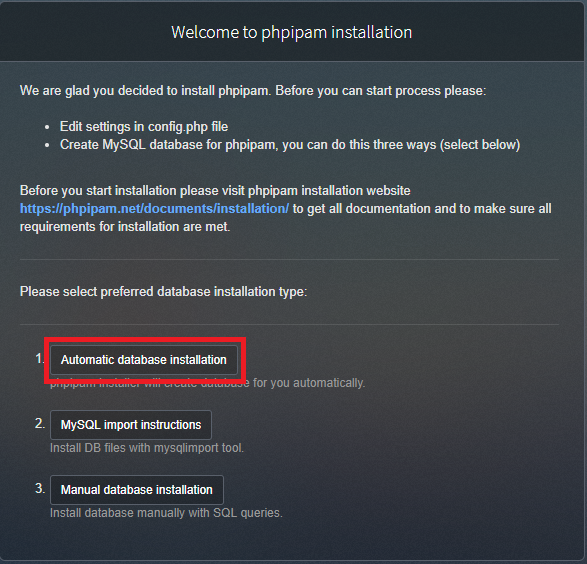
- 選擇「 New phpipam installation 」

- 選擇自動安裝「 Automatic database installation 」
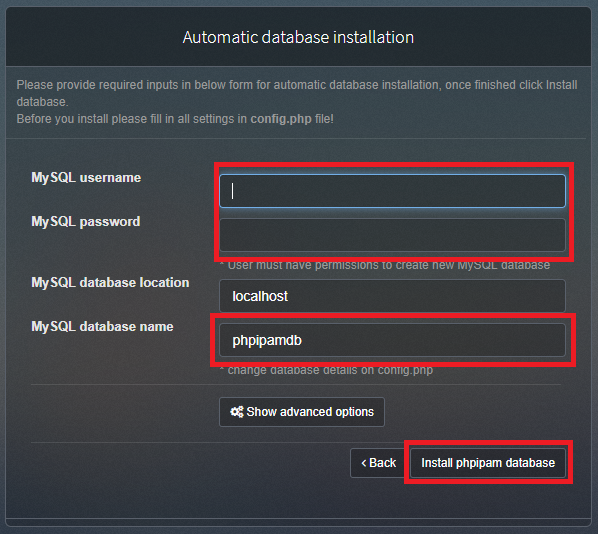
- 輸入剛剛在資料庫上為該服務所建立的帳號及密碼,輸入完請按下 「 Install phpipam database 」
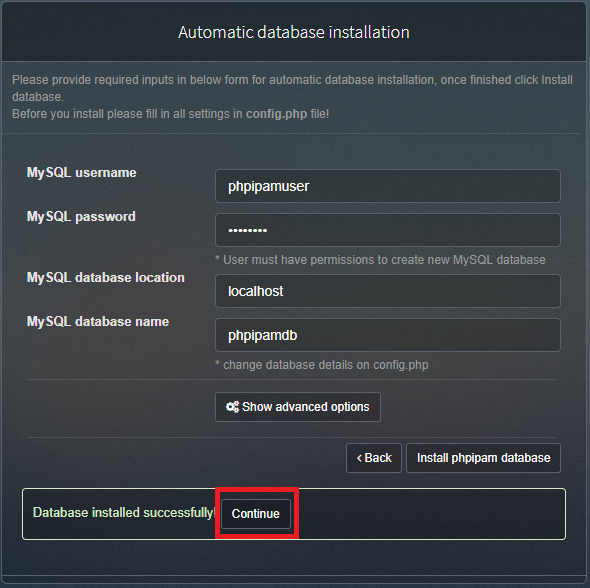
- 點選 「 Continue 」
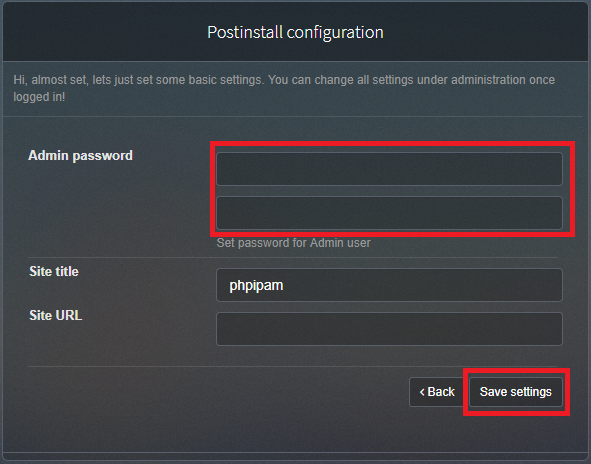
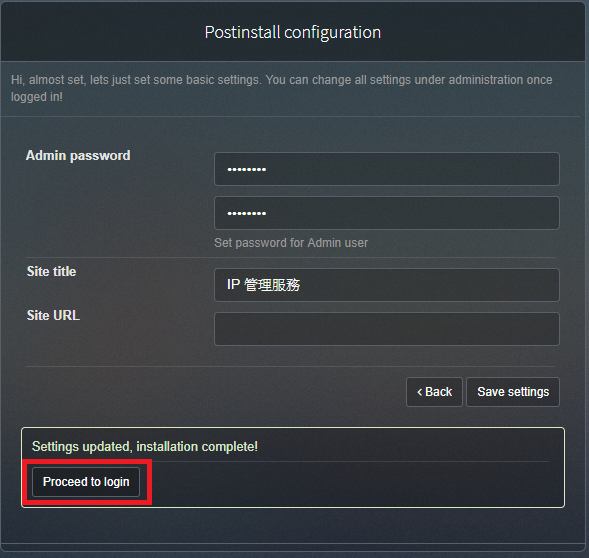
- 設定管理者的密碼,輸入完按下「 Save settings 」
- 存完之後再點選「 Proceed to login 」
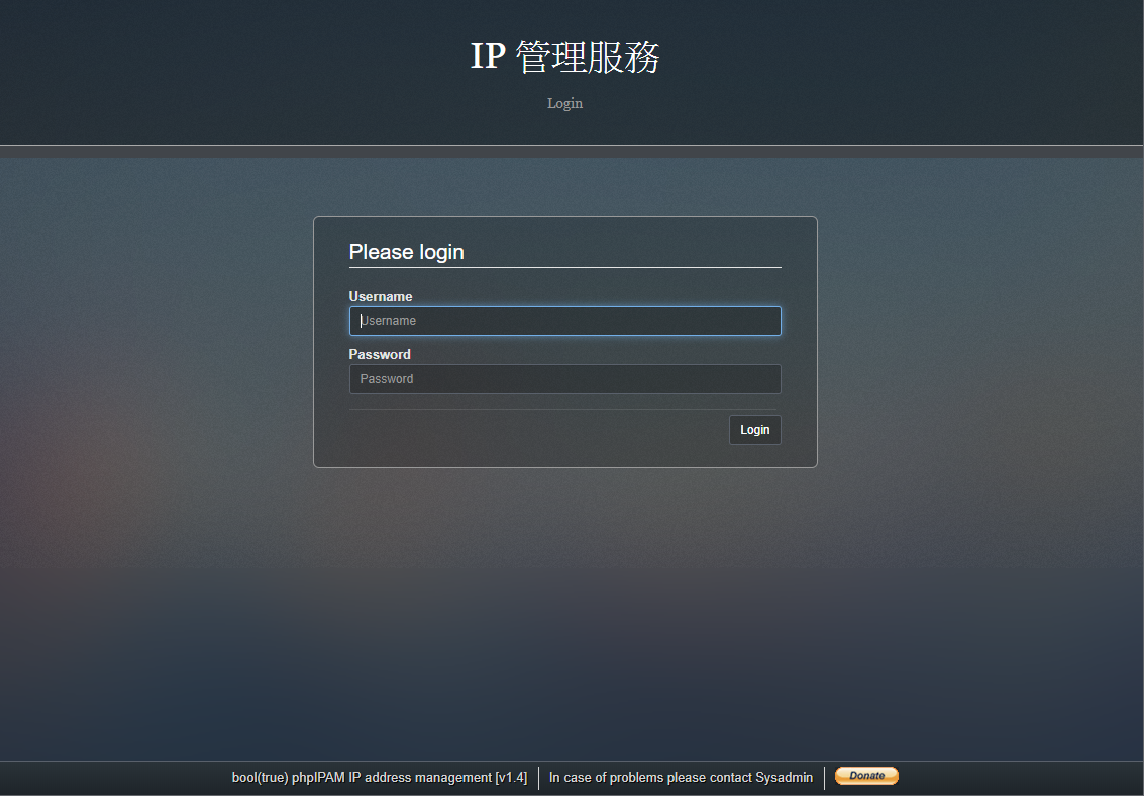
- 點選完會跑到登入畫面,請填入管理者帳號及密碼,預設管理者帳號是:admin 、 密碼是剛剛所設定的那一組
- 登入之後所顯示的畫面

補充說明
- 預先將資料庫結構匯入到資料庫裡面,建立帳號及資料庫
mysql -u root -p

CREATE DATABASE IF NOT EXISTS phpipamdb DEFAULT CHARACTER SET utf8 COLLATE utf8_general_ci;
GRANT ALL PRIVILEGES ON phpipamdb.* TO 'phpipamuser'@'localhost' IDENTIFIED BY '設定使用者密碼' WITH GRANT OPTION;
FLUSH PRIVILEGES;
exit
- 進到剛剛所下載好的目錄裡面,匯入官方所提供的語法,然後再進到設定檔把連接資料庫的訊息填入,上面有教學怎麼填入那些資訊請參考。
cd /var/www/html/phpipam/db

mysql -u root -p phpipamdb < SCHEMA.sql
- 請使用瀏覽器連至
http://ip/,預設帳號為 admin,預設密碼為 ipamadmin,即可開始登入 phpIPAM 系統,登入後系統會要求修改管理者的密碼,修改完之後再使用新的密碼登入就可以使用了